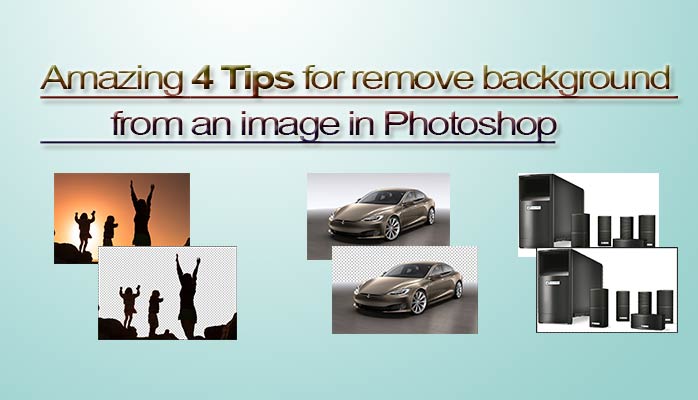
Amazing 4 Tips for remove background from an image:
Amazing 4 Tips for remove background from an image: Hello, everyone, Clippingpath.eu want to show you 4 easy and cool tips for how can you remove your image background from an image in Photoshop.
After successfully learn this tutorial sometimes you can make your own selfie amazing look in different place. Like you took your selfie on a room but applying this theory you can add a sea beach or historical place on your selfie image background and your friends are made surprised about you and they asked you that when do you make this trip on that place! That’s really awesome, right?
This is a funny way but here sometimes background removal service is essential for e-commerce products sellers and web developer for arranging their product selling website. Think you are an owner of an online shop business but first you need to build a product selling a website for promoting your product to the targeted clients. When you finished your site then you need to attach your product image. Not only that you need to add this product image more attractive and eye catchy look. That’s why you need to modify your product raw images and add a white background or other effects. So, now I tell you so much easy way to do that.
First Process:
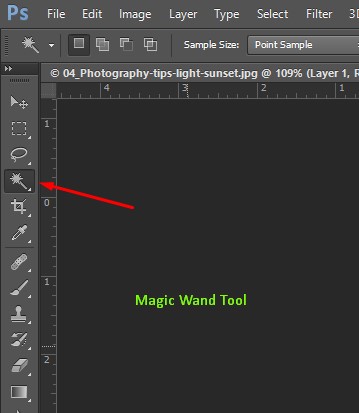
Remove background by using- Magic Wand Tool

The Magic Wand Tool is one of the speediest approaches to achieve this. It works best on a scene with an unmistakably characterized shading contrast between what you need to remove and what you need to keep. Essentially tapping regarding your matter that you wish to remove from the foundation will give you a default Photoshop choice for the subject.
(While you applying this, a moving line is shown you and it’s indicated a selection area)

In the event that your determination isn’t sufficiently exact, you will need to play with the Tolerance setting option on the most astounding Photoshop toolbar. Expanding the resilience will grow the determination and diminishing the resistance will recoil the choice. Play around with this number, press (CMD+D or CTRL+D) to deselect your present choice, and snap your subject again to see the resistance change produce results. You can select your exact area by pressing (Shift+ Magic wand tool) also.
The key piece of this procedure is the choice reversal. As this gives us a chance to expel the foundation rather than the substance you really need to keep. Explore utilizing the best Photoshop menu, and pick select > inverse. This will change the moving spots around your choice to be in the area, instead of the subject. Presently with one last erase (Backspace) you’ll see you’ve effectively expelled the foundation!
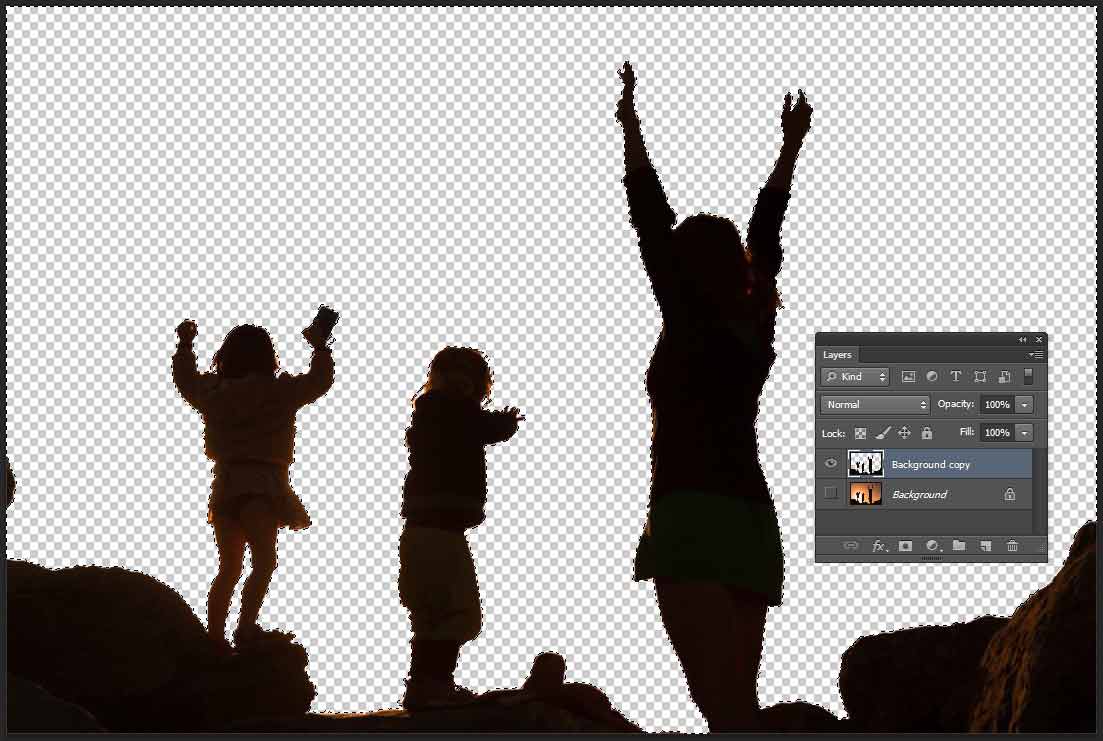
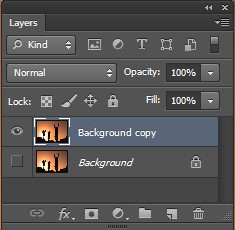
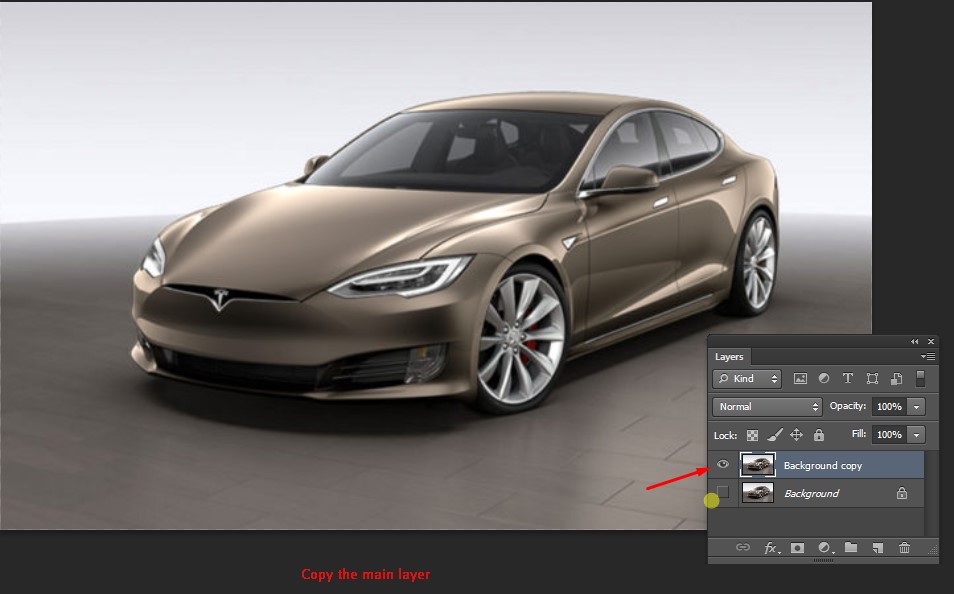
Or first, make a copy of your main image and then select your targeted area.
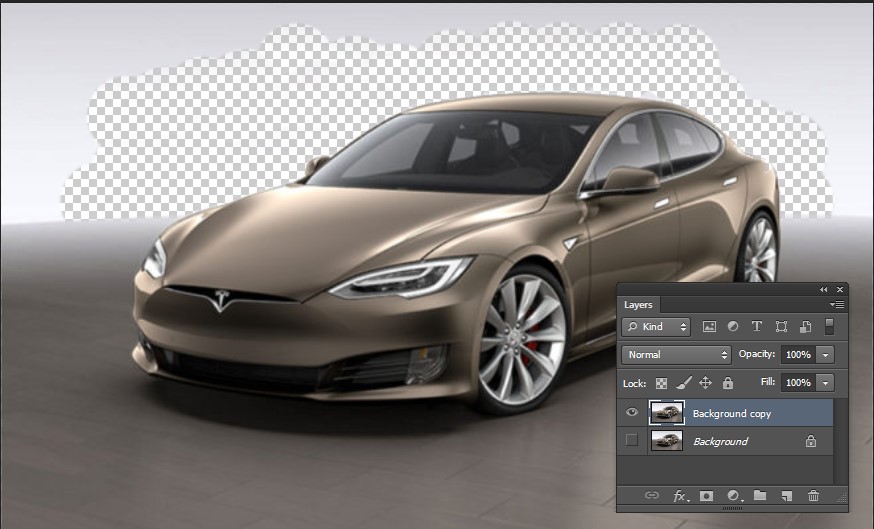
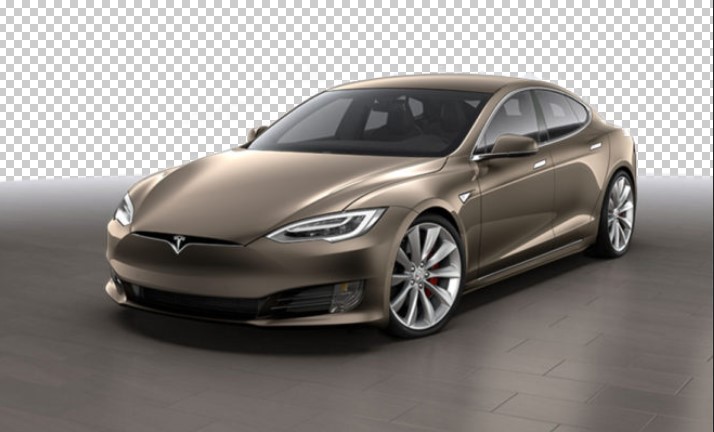
After that click on (Backspace or Delete Button) and then you will see your transparent background and deselect your selecting area by pressing (Ctrl+D).

Video Tutorial: How to use Magic Wand Tool?
Second Process:
Remove background- Background Eraser Tool

This is the straightforward, snappy, yet amazingly powerful technique! It’s in the name for the love of all that is pure and holy! The Background Eraser Tool is a standout among the most safeguard approaches to do this – once more, working best on a foundation with an alternate shade or tone to the subject you need to remove. It’s the process of quick solution for remove background from an image but sometimes this tool doesn’t work properly while the background color is too much rough or solid color mixed. After all, you can use it for further purposes in quick editing.

The settings that are most critical to this setting are your brush design – that is to state the hardness and size of your brush. Increment the size, and you’ll expel a greater amount of the foundation in a single tick. Decline the hardness to make the foundation evacuation less unforgiving and give it a slight blur into the subject of your picture. The resistance setting is likewise critical. This is the setting that manages how strict you’d like Photoshop to be with the foundation. A lower resistance will permit a greater amount of the foundation through, while a high resilience will expel both the subject and the foundation without qualification between the two.
-
A resilience ideal for the picture above will be around the 15-20% check. This will enable us enough adaptability to expel the foundation, however, hold our subject picture that is the lady.
![]()
Try to set a brush size of appropriate size, for this situation around the 50px for the vast majority of the picture will work fine. We at that point need to follow around the edges of the lady, making a ‘radiance’ of a straightforward picture.
Decline or increment the span of the brush agreeing to the piece of the picture you are following. The dark cross in the focal point of the cursor is the objective shading you are endeavoring to expel, with the exterior of the cursor being the influencing zone. Drag around the cursor to your soul’s content, play around with the resilience and size until the point when you have an effectively followed picture. Keep in mind! In the event that you aren’t content with an area, essentially press (CMD+SHIFT+Z) or (CTRL+SHIFT+Z) to fix and step in reverse.
Once you’ve made your ‘erasing’ around the subject, you can move onto evacuate whatever is left of your experience with an ordinary eraser device – or the foundation eraser apparatus. Whichever you find most straightforward. Increment the span of your brush and get deleting.
Check out Video Tutorial: How to use Background Eraser Tool
Third Process:
Remove background- Quick Selection Tool

lets you need to set a brush size, as with the above background removal eraser. Once the brush size is set, get selecting. When selecting, you can switch between ‘subtract from’ and ‘add to’ modes. These are what make the quick selection tool so powerful.

Using the plus and minus selection (Shift= + and Alt= -), you’ll be able to dictate which parts of the image you want to keep and which you want to remove. You’ll usually get a fairly good outline of your subject just by dragging the selection tool around – this often depends on how much your background and subject colors vary. However, you’ll almost definitely have some areas of your subject included in your selection.

Fixing this is easily done – it’s where we use the (-minus) selection tool. Simply resize and hover the minus selection tool over the area of the subject that you do not want your selection. Using the Minus for off the areas you don’t want and add the areas of the background that you want to remove. You’ll soon have a perfect outline selection that you can apply a simple (CMD + DELETE) or (CTRL + DELETE) to remove the entire background.


Final Erasing with Quick Selection Tool
Video Tutorial: How to use Quick Selection Tool In Photoshop?
Note: Now you need to mind that all these tools are above not perfectly works for 100% quality based background removal service or Clipping Path. So, here is the question !!!
>>> Which is the best tool for background remove service from an image?
Answer: Answer is “Pen Tool“.
Pen Tool- For Background remove service:

Pen-Tool
New or unpracticed architects utilizing Photoshop may utilize the Lasso Tool, Magic wand tool, Background Eraser Tool or Quick selection tool (rather than the Pen Tool) to remove a picture of its experience. While these techniques may work, they can have numerous downsides. The last picture could at present contain bits of the foundation, have rugged edges or not be of the most noteworthy quality. Also, these strategies can be tedious and don’t offer you the chance to commit redresses in the event that you make errors.
- Magic wand– Doesn’t enable you to make smooth, adjusted edges around objects.
- Quick selection– Features a portion of similar inconveniences of the Lasso Tool, yet additionally isn’t suited for removing objects with clear or differentiating fringes.
- Background Eraser Tool – Its adequacy is especially attached to shading. Along these lines, it’s bad at removing a question from a foundation that contains diverse hues or shades of hues (for instance, a man amidst a city or woods scene).
Presently, the weaknesses that recorded here don’t make these apparatuses field here Pen tool is perfectly working great. In any case, in many occurrences, Photoshop’s Pen Tool is what you will need to use to remove a picture from its experience. It enables you to construct a speedy and effective blueprint that you can modify anytime en route.

Video Tutorial: How to use Pen Tool?
Peen tool works as like a Pencil which is maintained by your hand. On the other hand, this tool cut out the background exactly main point without a rough corner.
Next post: How to create clipping mask and Layer mask using Photoshop