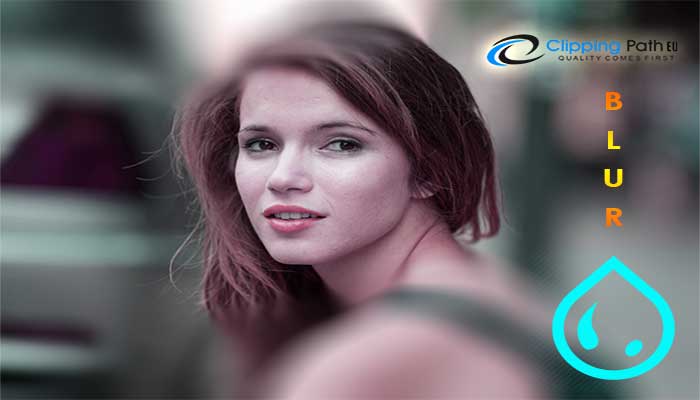
Every one of these channels gives us an alternate method to add an obscure impact to a photograph, however as we’ll find in these instructional exercises, Field Blur, Iris Blur, and Tilt-Shift have one major favorable position in like manner – they give us astounding control over the impact since they don’t just apply uniform obscuring over the whole picture. Rather, they enable us to effectively modify and calibrate the obscure sum in particular zones, and they do it without the requirement for layer covers! Clipping Path EU– share the clear concept of Blur effect in Photoshop CS6.
In this first instructional exercise, we’ll take in all about Field Blur. Here’s the photograph I’ll be working with:
The first picture

Before we go any further, how about we investigate my Layers board where we see that I’m as of now dealing with a duplicate of my unique picture. I made the duplicate by squeezing Crtl+J (Win)/Command+J (Mac) on my console, which copied the Background layer. Along these lines, the first photograph, sitting securely on the Background layer, will stay untouched and unharmed while I apply the obscure impact to the duplicate on Layer 1:
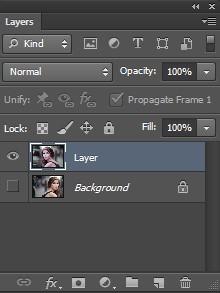
Taking a shot at a duplicate of the picture (Layer 1) to abstain from changing the first (Background layer).
Get the majority of our instructional exercises as print-prepared PDFs!
Choosing The Field Blur Filter
To get to the Field Blur channel, go up to the Filter menu in the Menu Bar along the highest point of the screen, pick Blur from the rundown, and after that pick Field Blur:
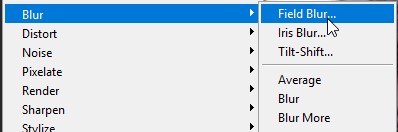
Go to Filter > Blur > Field Blur.
The Blur variation Gallery
This opens the Blur Gallery which incidentally replaces the standard interface in Photoshop CS6. The Blur Gallery is made up generally of a substantial see zone where we chip away at our picture, and on the off chance that you look along the right, you’ll discover a few boards. The best one is the fundamental Blur Tools board where we discover the controls and choices for the Field Blur, Iris Blur, and Tilt-Shift channels. Underneath it is the Blur Effects board which gives us a couple of additional choices for adding bokeh impacts to the obscure. We will skirt the Blur Effects board for the present since we needn’t bother with it to include our primary obscure impact.
 Since I chose Field Blur from the Filter menu, the Blur Tools board naturally opens to the Field Blur alternatives:

The Blur Gallery in Photoshop CS6, with the Blur Tools board open to the Field Blur choices.
Working With Pins
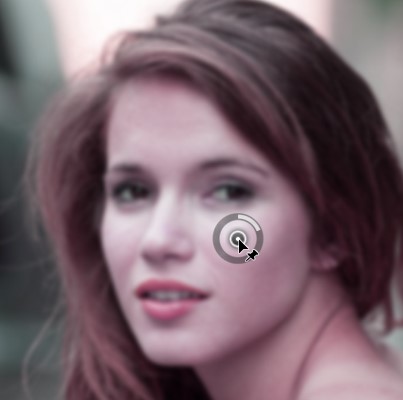
On the off chance that we take a gander at my picture in the see zone, we see two things. To start with, the whole photograph has an underlying obscuring impact connected to it, and it’s connected consistently over the whole picture, like what we’d get with one of Photoshop’s more conventional obscure channels like Gaussian Blur. The second and all the more intriguing thing we see is a peculiar looking round symbol. This symbol is known as a stick. It’s known as a stick since we “stick” it to the picture. Photoshop consequently includes an underlying pin for us, yet we can stick numerous duplicates of this symbol to various territories of the picture. For what reason would we do that? We’ll get to that in a minute:
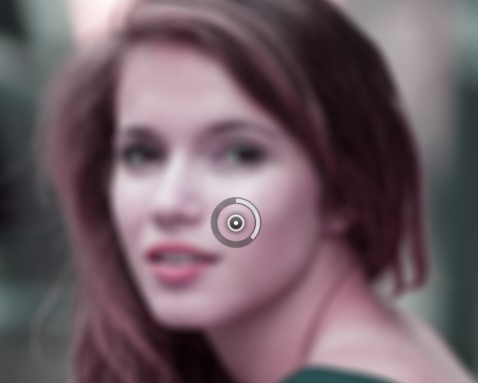
Photoshop places an underlying pin on the picture for us
This underlying pin that Adobe Photoshop includes is really controlling the measurement of obscure that is being connected to the picture. How can it function? The external ring of the stick demonstrations particularly like a volume dial on a stereo or intensifier. To build the music’s volume, we’d turn the dial clockwise, and to turn the music down, we’d turn the dial counterclockwise. For this situation, rather than modifying the sound volume, we’re controlling the measurement of obscuring, yet it works a similar way. We simply need to turn the dial. Basically move your mouse cursor over the external ring, at that point click and with your mouse catch held down, drag your mouse either clockwise or counterclockwise to turn the dial. Dragging clockwise will expand the obscure sum while dragging counterclockwise will diminish it. Photoshop will demonstrate to you alive see of the outcome as you drag:
Snap and drag to pivot the external ring and change the obscure sum.
 The Blur Slider
 The Blur Slider
In the event that the “volume dial” control doesn’t speak to you, you can likewise modify the obscure sum utilizing the more conventional Blur slider in the Field Blur area of the Blur Tools board. The Blur slider and the stick are attached to each other so altering one naturally changes the other. It has no effect which one you utilize. Similarly, as with the stick, Photoshop will give you a live see of the outcome as you drag the Blur slider left or right:
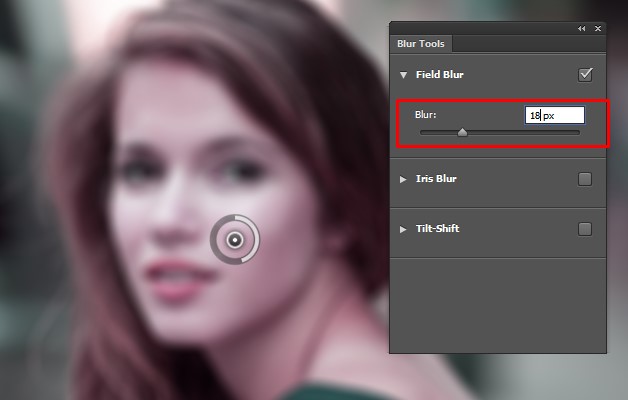
You can utilize either the stick or the Blur slider to control the measure of obscuring.
Moving Pins
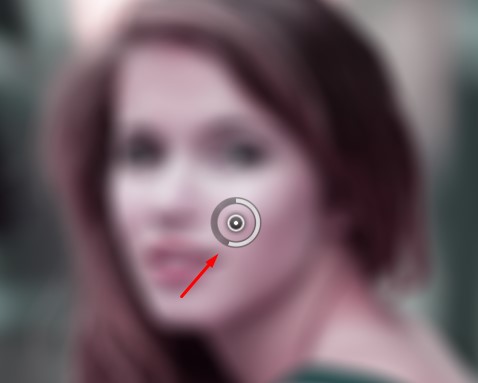
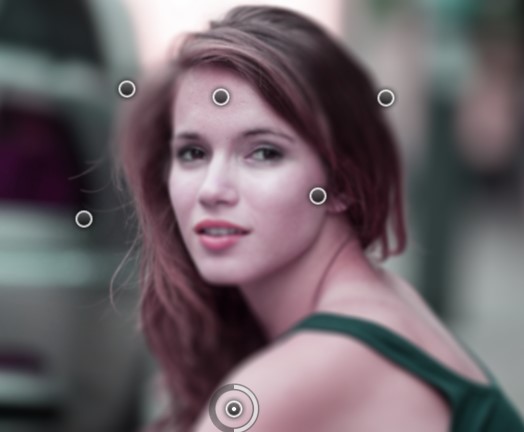
Up until this point, so great, aside from that all I’ve figured out how to do as yet is apply a similar measure of obscuring to the whole photograph. Imagine a scenario in which I need to change the obscure sum in a particular region. For instance, the lady’s eyes ought not to be obscured. They have to stay sharp, so how would I diminish the obscure sum over simply her eyes? With the new Field Blur channel, it’s simple. I simply need to include another stick!
Before I do that, however, I’m initially going to move my underlying pin off the beaten path. We can move sticks around just by tapping on the focal point of them and, with the mouse catch held down, dragging them to an alternate spot over the picture. I’ll drag the stick up higher so it’s far from her eyes:
Click and drag pins to move them around.
Including More Pins
To include another stick, move your mouse cursor over the spot where you need to put it. Your cursor will change into a stick symbol with an or more sign ( + ) close to it, telling you-you’re going to include another stick. For my situation, since I need to modify the obscure sum over the lady’s eyes, I’ll move my cursor over the eye on the left:
Move your mouse cursor into put.
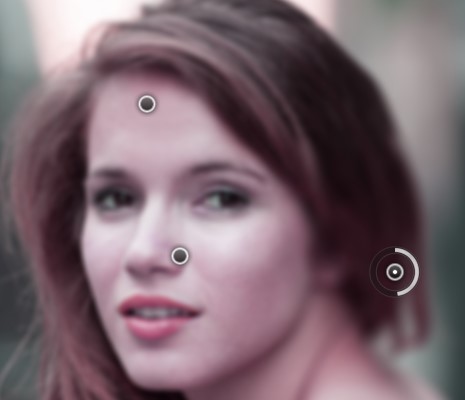
At that point, essentially click and the new stick shows up! Notice that the underlying pain is still there, however, is never again showing the external ring around it. That is on account of despite the fact that the two pins are affecting the picture, we can just modify one stick at any given moment, so just the stick that is as of now dynamic (the new stick I just included) shows the external dial:

Whenever at least two pins are included, just the dynamic stick shows the external control dial
With my new stick over the lady’s eye, I can expel the obscuring around thereof the picture either by dragging the stick’s external ring counterclockwise or by dragging the Blur slider in the Blur Tools board to one side until the point when the obscure sum is at 0. Here, I’m dragging the stick’s external dial. The obscuring impact under and around this second stick has now been evacuated, while the territory nearer to the underlying pin higher up in the picture still has the obscure impact connected:
Each stick is controlling the obscure sum in an alternate piece of the picture
I’ll do a similar thing with the other eye, tapping on it to add a third stick to the picture, at that point dragging the external dial counterclockwise to set the obscure add up to 0. The two eyes are presently indeed decent and sharp, similarly as they were initially, while the obscure impact stays around the stick at the highest point of the picture. With each new stick, we include, we acquire control over the quality of the obscure in various regions of the photograph:
Each new stick controls the obscure measure of the region under and around it
Consider the possibility that I need to backpedal and re-alter the underlying pin. Forget about it! I simply need to tap on it to re-initiate it, which will by and by showing it is external control ring, and after that, I can drag the ring (or the Blur slider in the Blur Tools board) to increment or abatement the obscure sum in that piece of the photograph. It’s critical to take note of that now, we’re not making any perpetual, physical changes to the picture. Photoshop is essentially giving us a live see of what the obscure impact will resemble:
Tap on any stick to re-enact it and roll out further improvements
Here, I’m including the fourth stick just underneath her shoulder to include some obscuring and softening around there, pivoting the external dial clockwise to increment obscuring. You can include the same number of pins as you jump at the chance to pick up as much tweak control over the obscure impact as you require:
Altering the obscure impact in the lower left of the photograph by including another new stick.
What’s more, as one more case, I’ll snap and include the fifth stick simply over her mouth, at that point I’ll turn its external ring counterclockwise to bring back a portion of the first sharpness in the lower some portion of her face:
The Field Blur variation channel makes fine changes like this both brisk and simple
Briefly Hiding The Pins
The main issue with these pins is that they tend to jumble up the picture, making it hard to see the impact underneath. We can incidentally conceal the pins by squeezing and holding the H key on the console (think “H’ for “Stowaway”). With the key held down, the pins vanish. Discharge the key and they re-show up:
Press and hold the H key to shroud the pins and judge the outcomes.
You can likewise contrast your work-in-advance and the first un-obscured variant whenever by unchecking the Preview option at the highest point of the Blur Gallery. With Preview unchecked, the first picture shows up. Snap inside its checkbox again to fail and change back to the obscured adaptation. Or on the other hand, you can press the letter P on your console to rapidly cycle the Preview choice on and off:
Think about the first and obscured forms by turning Preview on and off
Expelling Pins
To expel an undesirable stick, tap on it to make it dynamic, at that point squeeze Backspace (Win)/Delete (Mac) on your console. Or on the other hand, on the off chance that you need to gather up every one of the pins on the double and begin once again, tap the Remove All Pins symbol at the highest point of the Blur Gallery (specifically to one side of the Preview alternative):
Utilize the Remove All Pins alternatives to erase every one of the pins on the double.
Applying The Blur Effect To The Image
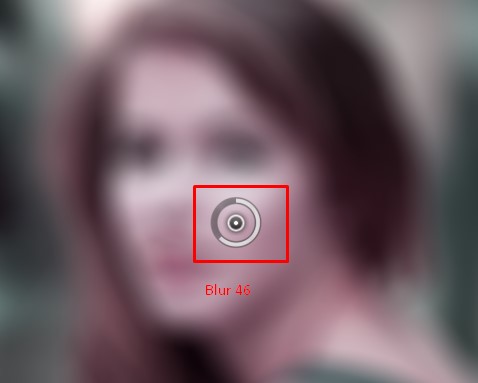
At last, when you’re finished including, changing, and moving pins and you’re content with the outcomes, either tap the OK catch at the highest point of the Blur Gallery or press Enter (Win)/Return (Mac) on your console. This will apply the obscure impact to the picture and leave you out of the Blur Gallery:
 Tapping the OK catch to confer the obscure impact.
Furthermore, it’s just as simple as that! Here, for correlation, is my unique photograph.
Check out our quality services: