“Clipping Path EU”- showed you a great tutorial that does will help you to make the lighting effect on a Car. What’s more, we will utilize some cool Photoshop traps to add light impacts to the plan. This is a part of Car enhancements service or Auto Detailing.
Car enhancements:
Influence another determination from the first vivid lights to picture and import it into your archive. From here we will set the Blending Mode to Screen by utilizing the twist alternative to change the state of the lights. Place this layer over the auto layer with the goal that it seems, by all accounts, to be in the front. Veil out a portion of the lights on the front tire so it would seem that this. When painting into the Layer Mask, utilize a delicate brush at a low murkiness when working around the wheels. This will give it a somewhat obscured look which would be exact for an auto moving at high speeds.
Car enhancements with Lighting Effects in Photoshop Step By Step Tutorial
Stage 1
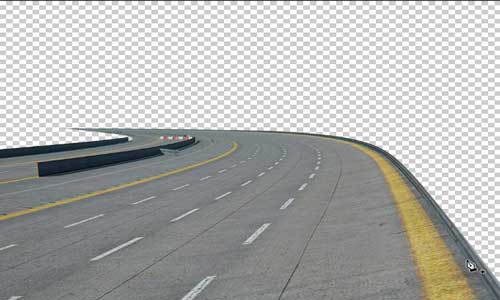
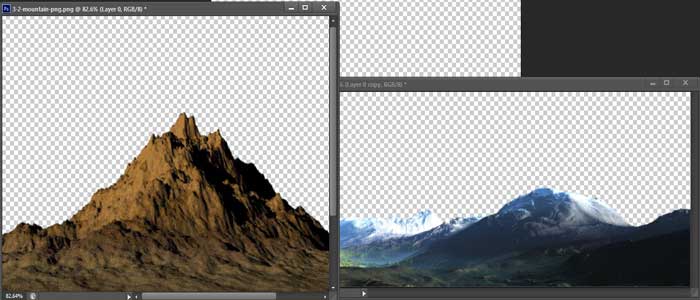
Before we get into the plan and begin mixing things together we should complete a touch of prep work to kick us off. Open the picture of the twisting street in the mountains from the assets envelope. You can utilize a comparable picture on the off chance that you might want yet ensure that the point of view coordinates intently to alternate pictures (like the auto) that you need to use in your plan.
Here we use a road track PNG file which is used for the making of Car background and it helps to make the view of running car.
Double tap on the ‘Foundation’ layer that shows up with a little bolt symbol alongside it in the Layers Palette. You will be provoked with a discourse box requesting you to name the layer – You can call it ‘Foundation’ again or abandon it clear, it isn’t excessively vital. When you have entered something in the field you can press the Enter Key or basically click OK from the discourse box. Presently your layer should resemble this.
Stage 2
Press ( Command+J) while the Background Layer is chosen in your Layers Palette to copy the layer. On the other hand, you could likewise simply drag this layer down to the New Layer symbol at the base of the palette. When you have done that you can turn the deceivability of the first layer off with the goal that your Layers Palette resembles the picture demonstrated as follows.
Stage 3
What we will do next is expel the sky from the picture so we can put our own particular foundation into our outline. To do this we will zoom in nearly to our picture and change over to our Pen Tool (P) with the goal that we can make a way. Take after along the edges of the mountains with the pen and this ought to pass by decently fast contingent upon your level of solace with the instrument. When you have followed around the sky, just close the way and after that snap anyplace along your way while holding down the Control Key and you should see a drop-down menu where you need to pick ‘Make Selection’ has appeared here.
You should now observe the walking ants that will demonstrate the zone of the picture that is right now chosen. Press the Delete Key and it should expel the majority of the sky, uncovering the straightforward foundation beneath. You can flip the deceivability of the first layer on and off to see the distinction.
Next, go to the Image Menu and select ‘Picture Size’ has appeared here. We need to give ourselves the alternative of utilizing this picture as a work area backdrop so we should make it around 1280 pixels wide. You don’t need to adjust the tallness of the archive as long as you have ‘Oblige Proportions’ confirmed in the discourse box. You can run somewhat bigger with the measurements, yet relying upon the determination of the picture you are utilizing you would prefer not to risk pixelate it excessively.
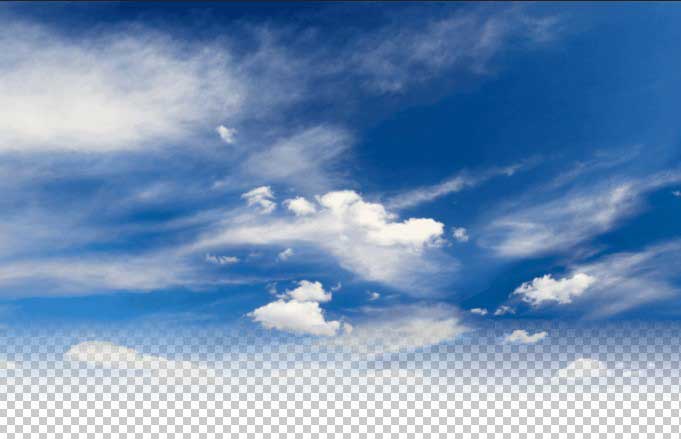
Open the picture of the sensational mists from the assets envelope and import it into your report. Place the layer just underneath your winding street layer. You need to scale it up or scale it around utilizing the Free Transform (Ctrl+T) and dragging the picture by one of the corners while holding the Shift Key. When you are content with the size and situating of the sky foundation press the Enter Key to apply the progressions.
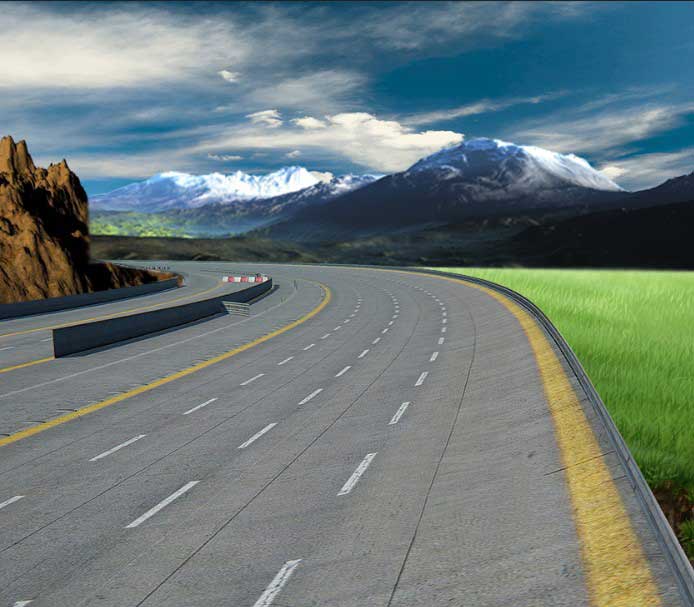
Here is the final background with combining Road track, Mountain and Sky.
Stage 4
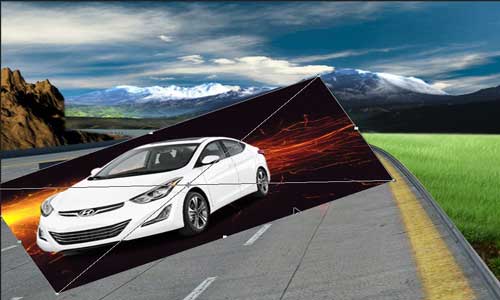
Next, we will open the picture of the auto and confine it from its experience utilizing a similar strategy. We utilized as a part of Step 3 prior on. When you have expelled the foundation from the auto picture you can import it into your report. Place it at the highest point of your Layers Palette and utilize the Free Transform (Ctrl+T) to turn and scale the picture in like manner with the goal that it fits pleasantly into the piece.
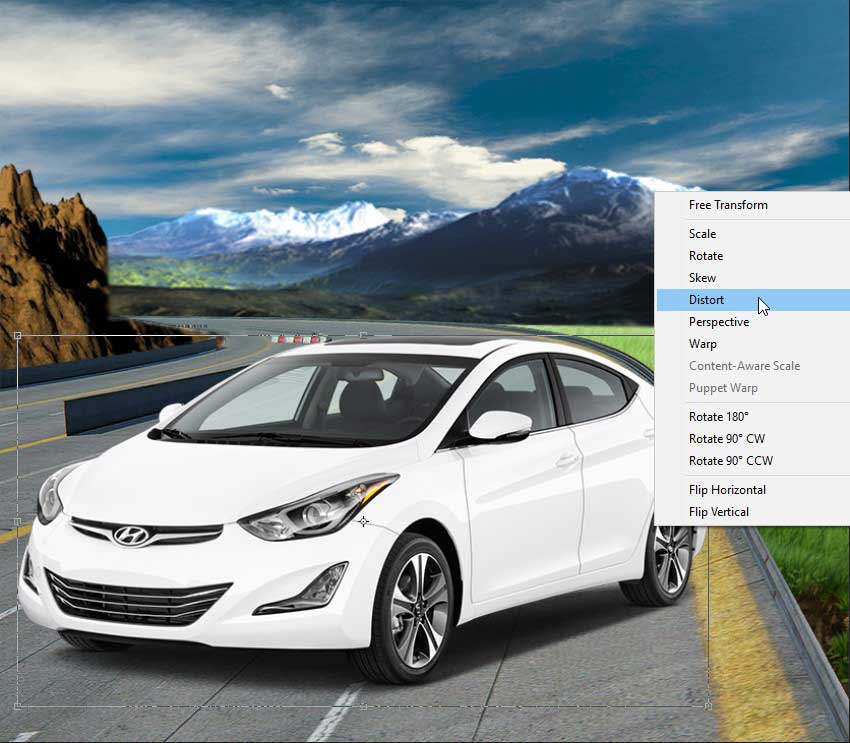
Stage 5
With the auto layer chose, squeeze Ctrl+M to raise the Curves Adjustment Dialog Box and apply a bend that resembles this. The picture underneath demonstrates the auto without the change connected. What’s more, this picture demonstrates the auto with the change. As should be obvious from the screen captures, this has a significant effect and truly enhances the authenticity of the picture.
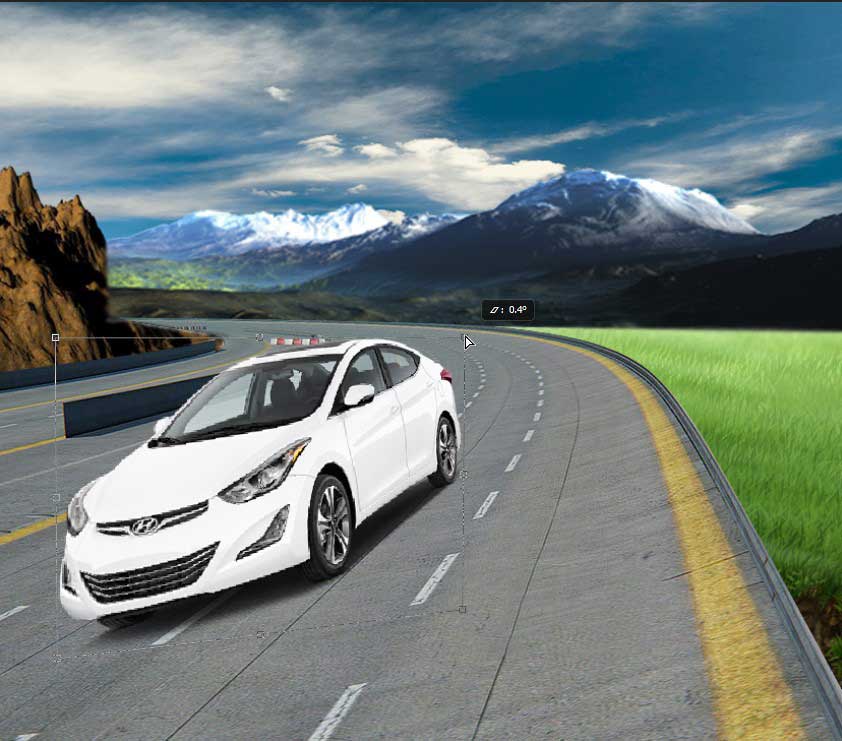
You can adjust the car position by using this process.
Stage 6
By including an Adjustment Layer along these lines, it will keep up the nature of the picture as opposed to having a steady quality misfortune, which is the thing that can happen while applying a modification straightforwardly to the picture. The distinction is that now everything beneath this Curves Adjustment Layer will be influenced and we likewise have the alternative of utilizing the veil to evacuate or add the impact to the outline anyway we might want.
Here we use another image which includes Mountain. Adjust it behind the road and under the sky.
So far we have chipped away at putting our pictures and we have started to mix those utilizing Adjustment Layers. Something we should do keeps in mind the end goal to keep up the authenticity. We are endeavoring to accomplish is to apply a shadow underneath the auto. Double tap on the auto layer to raise the Layer Styles Dialog Box and apply a Drop Shadow with the settings demonstrated as follows.
When you have set the suitable esteems press the Enter Key to apply the progressions. You should now have something like this:
Stage 7
We will now import the picture of the firecrackers from the assets organizer. And once you have it in your report, put it underneath the auto layer and change the Blending Mode to Screen. With your firecrackers layer featured/chose, tap the Layer Mask symbol from the base of your palette as appeared here.
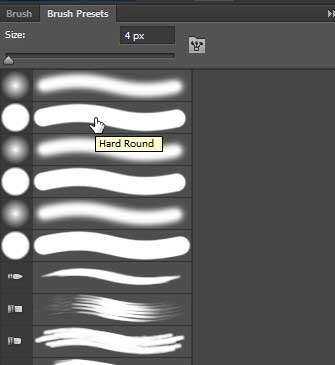
Change to your Brush Tool (B) and with a vast round brush chose, paint with a strong dark shading into the Layer Mask of the layer containing your firecrackers. The objective here is to brush out a large portion of the streaks at the highest point of the picture. After that add the piece of the picture that is under the front of the auto.
Stage 8
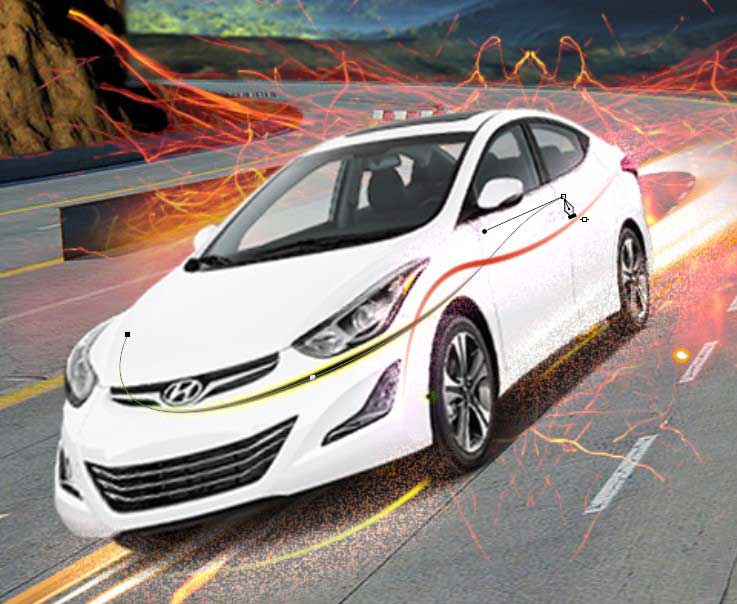
Change to your Brush Tool (B) and select a 2 pixel hard round brush. When you have done that, make another layer at the highest point of your palette and after that change to your Pen Tool (P). Zoom in nearly to the auto and utilizing the pen. Start to follow some streaming lines that take the state of the auto as appeared here. When you have drawn a way that is looking really characteristic. Hold the Control Key and snap anyplace along the way to uncover a drop-down menu.
From this menu, you will need to pick ‘Stroke Path’ as observed underneath. Next, you should see another discourse box show up where it gives you the choice to ‘Mimic Pressure’. However, we don’t need this verified for this specific undertaking. What this will do is make the line more slender or decrease close to the finish of the lines. However, for the time being, we need it to be an even stroke from one end of the line to the next.
Continue this Process:
Hold the Control Key again anyplace along the way and select ‘Erase Path’ to dispose of the way we made, just leaving the stroke. Ensure that the stroke layer is featured in your Layers Palette. Then tap on the Layer Mask symbol along the baseline of symbols appeared here. This will add a cover to our stroke layer empowering us to have more control over its appearance. With your stroke layer still featured, hold the Command (or Control Key on Windows).
Tap on the thumbnail of the auto on the ‘Auto’ layer. Doing this ledge actuate the choice around the auto or whatever other protests that you do this with. You should, in any case, have your best most layers featured. So now, the changeover to your Brush Tool (B) and with a strong dark brush. Start to paint into this layers Layer Mask where you need it to be covered up. This is a procedure that we will use in the following couple of steps. Before we make any new ways or strokes. We should make sure to set our brush to the kind of line we need to make already.
Stage 9
Keep on creating new layers. And make ways with the Pen Tool before applying the brush stroke and erasing the way. When you add a Layer Mask to your brush stroke you can bring down the darkness. Delicateness of the brush to make a smoother and slower blur like. I have done here close to the wheel.
Keep in mind, when you make another way and stroke with the brush. You will need a more slender white brush for thin lines. However, when you paint into the Layer Mask you will most likely need a bigger dark brush. You will complete a touch of forward and backward with the B.
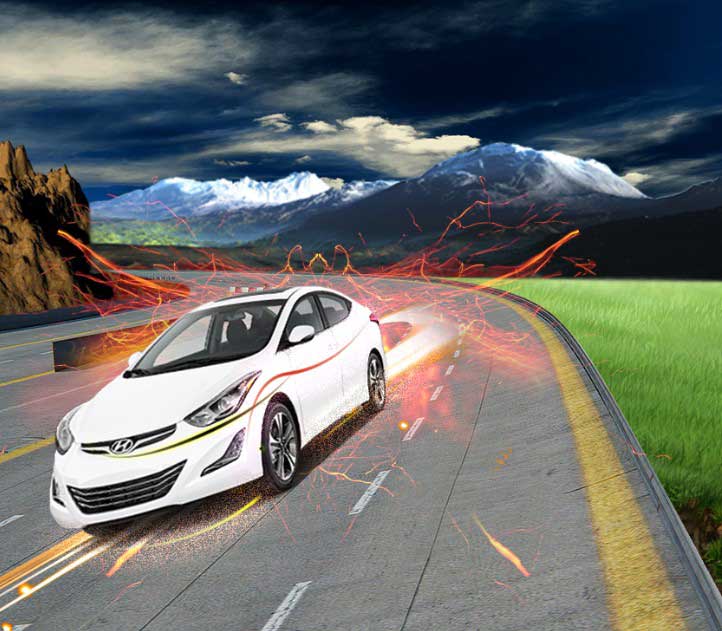
After completing this stage you’ll be able to make this amazing lighting effect image.
You should now have something like this:
To upgrade the lights originating from underneath the auto. And we have another picture of some more vivid dashes of light that. We will open and bring into our archive. Change the Blending Mode of this layer to Screen and complete a Free Transform (Command/Ctrl+T). After that tap on the picture while holding the Control Key to raise a menu with different change alternatives. We need to utilize ‘Twist’ to make all the more a swooping movement with the lights as appeared here.
You may need to twist it a few times, however, play around and you will make them intrigue shapes. When you discover something you like, move this layer underneath the auto layer. Apply a Layer Mask utilizing an indistinguishable advance from before to brush out a portion of the beautiful lights.
Learn more- 1. How to Make Water Splashes in Photoshop?
Clipping Path EU– is a specialist of the Car image editing service provider. This company has an expert team and they are experienced in car enhancements service.
Check out this-