Hi, Today we are going to learn how to Cut out your image with circle shape or other shapes in an easy way of Photoshop. Clipping Path EU– share fantastic tips for Cut out image by using Circle shapes without using Clipping Path or Pen Tool.
Tired of trimming your photographs into rectangles and squares? In this instructional exercise, figure out how to effectively trim pictures as circles with Photoshop! What’s more, figure out how to appropriately spare the last outcome to keep the straightforwardness so you can add the photograph to a plan or transfer it to the web!
Typically when we consider trimming pictures in Photoshop, we consider editing them as a rectangle or a square. Also, in case we’re utilizing Photoshop’s Crop Tool, we don’t generally have some other alternatives. In any case, who says we have to utilize the Crop Tool? Photoshop makes it similarly as simple to trim a photograph utilizing a chosen instrument. To edit a picture to a circle, we’ll utilize the Elliptical Marquee Tool. I’ll be utilizing Photoshop CC here yet any current form of Photoshop will work.
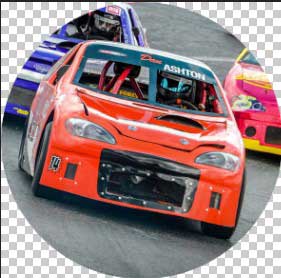
This is what the picture edited as a circle will resemble, finish with straightforwardness in the corners so you can without much of a stretch transfer it to the web or place it in another outline:
The most effective method to Crop an Image into a Circle Shape
Stage 1: Open Your Image
Begin by opening your picture in Photoshop. Here’s the photograph I’m utilizing :

Stage 2: Convert The Background Layer Into A Normal Layer
On the off chance that we look in the Layers board, we see our picture sitting on the Background layer:
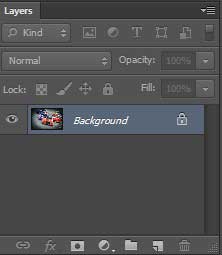
The Layers board demonstrating the picture on the Background layer.
Before we can edit our picture to a circle, we first need to change over the Background layer into an ordinary layer. The reason is that we’ll have the capacity to encompass our picture with straightforwardness; however, Photoshop doesn’t permit straightforwardness on the Background layer.
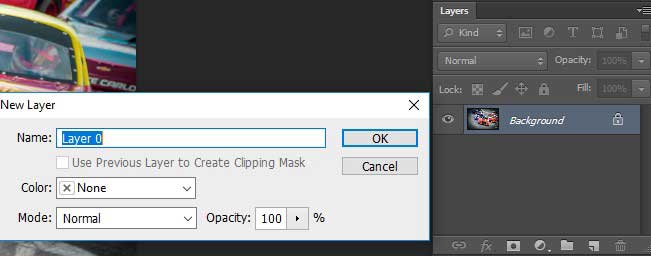
To change over the Background layer into an ordinary layer, we should simply rename it. In Photoshop CC, just tap on the bolt symbol on the privilege of the Background layer in the Layers board. In Photoshop CS6 or prior, press and hold the Alt(Win)/Option (Mac) key on your console and double tap on the Background layer.
Photoshop in a split second renames the layer from “Foundation” to “Layer 0”. Furthermore, much the same as that, we’ve changed over it into an ordinary layer and we’re ready:
Stage 3: Select the Elliptical Marquee Tool
Select the Elliptical Marquee Tool from the Toolbar. As a matter of course, the Elliptical Marquee Tool is settled behind the Rectangular Marquee Tool. Right-click (Win)/Control-click (Mac) on the Rectangular Marquee Tool, at that point, pick the Elliptical Marquee Tool from the fly-out menu:

Stage 4: Draw A Circular Selection Outline
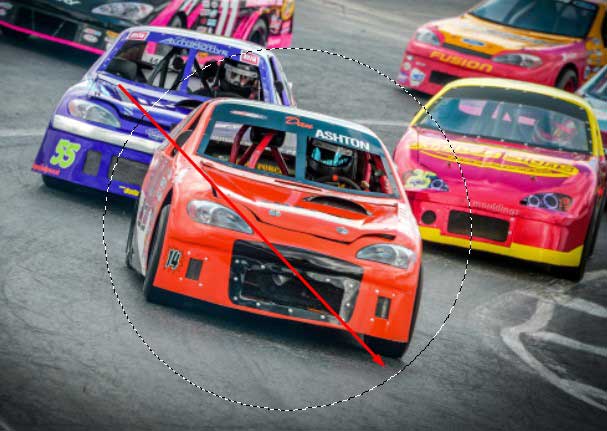
With the Elliptical Marquee Tool close by, click on your picture and drag out a curved determination plot. To compel the determination layout into an immaculate circle, press and hold the Shift key on your console as you’re dragging. Try not to stress over getting the area of the circle precisely right since we’ll move it into position in the following stage. For the time being, simply ensure the circle is sufficiently enormous to encompass the zone you need to keep.
When you’re set, discharge your mouse catch, at that point discharge your Shift key. Ensure you discharge your mouse catch to start with, at that point the Shift key, or the choice framework will snap once again into a freestyle curved shape:
Stage 5: Reposition the Selection Outline If Needed
On the off chance that you didn’t draw your determination layout in precisely the correct spot, basically click inside the choice blueprint and drag it into position. Here, I’m loving it so the young lady’s face is focused inside the circle. This is the territory I need to keep. Whatever is left of the picture will be edited away:
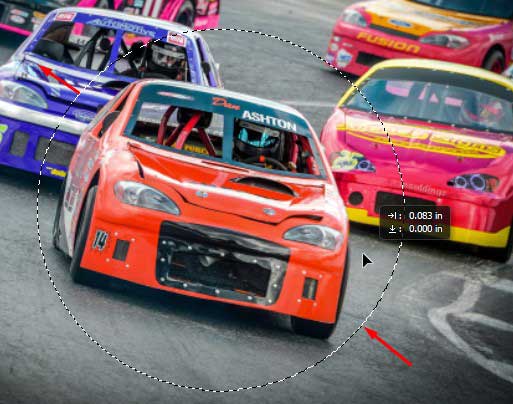
Snap and drag the round determination layout into put.
Stage 6: Invert the Selection
Right now, we have the territory inside the circle chose. What we really require is for the territory outside the hover to be chosen.
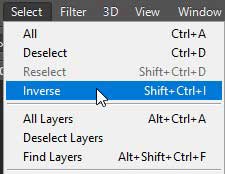
To deselect the zone inside the circle and select everything around it, go up to the Select menu in the Menu Bar along the highest point of the screen and pick Inverse:
Going to Select > Inverse.
Stage 7: Delete the Area Around The Circle
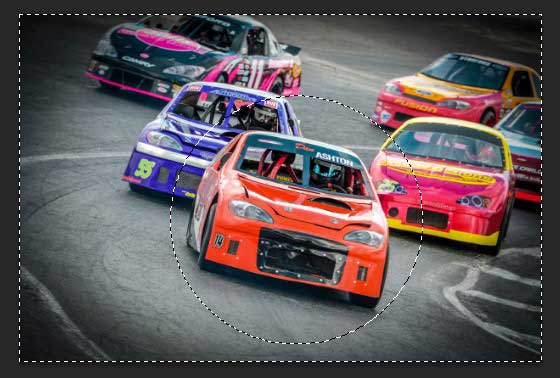
With the choice rearranged, press the Backspace (Win)/Delete (Mac) key on your console to erase the territory around the circle. Photoshop fills the region with a checkerboard design, which is the way Photoshop speaks to straightforwardness:

Press Backspace (Win)/Delete (Mac) to erase the undesirable region.
We needn’t bother with our choice framework any longer, so to evacuate it, go up to the Select menu and pick Deselect:
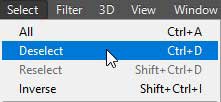
Going to Select > Deselect.
Stage 8: Trim Away the Transparent Areas
To edit the picture around the circle and expel the greater part of the straightforward territories encompassing it, go up to the Image menu and pick Trim:

Going to Image > Trim.
In the Trim exchange box, pick Transparent Pixels at the best. At that point ensure that Top, Bottom, Left, and Right are altogether chosen at the base (they ought to be as a matter of course):
![]()
Choosing “Straightforward Pixels” in the Trim exchange box.
Snap OK to close the Trim discourse box. Photoshop in a split second trims away the encompassing straightforward regions, abandoning us with our picture edited as a circle:
The picture is presently trimmed to a circle.
Stage 9: Save the Image As A PNG File
Ordinarily, we’d spare a photograph as a JPEG document, yet JPEG‘s don’t bolster straightforwardness. To keep the straightforwardness in the corners and abstain from filling them with white, spare the edited picture as a PNG record which supports straightforwardness.
To spare it, go up to the File menu and pick Save As:
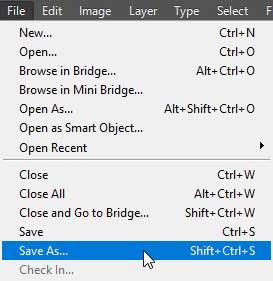
Going to File > Save As.
In the Save As exchange box set the Format choice to PNG. Name your record and pick where you need to spare it, at that point click Save:
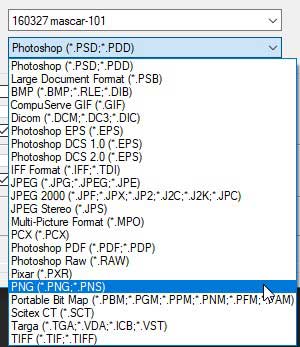
Ensure you pick PNG for the record arrangement to save the straightforwardness.
At the point when Photoshop requests that you set the PNG alternatives, you can securely abandon them at their defaults. Snap OK to spare the picture:

Learn more: For what reason Do We Need to Unify Colors