
There’s simply nothing very like a focal point flare to give your photographs that wonderful, sun-doused look. Regardless of whether you’re drenching up the glow of summer or getting a charge out of the brilliant city lights, a smidgen of flare can absolutely go far in delivering flawless photography.
Focal point flares are made when a wellspring of light (like the sun or a road light) is substantially brighter than whatever remains of the scene that you’re catching, bringing about the light being scattered or ‘flared’ inside the focal point framework. Now and then, be that as it may, it isn’t so easy to catch this coveted impact without anyone else.
Initially roused by the focal point flares consistently found in films, we’ve now reproduced these (in the house, without any preparation!) as our own particular well-known impacts accessible in the Photo Editor. With your Photoshop record and a little innovativeness, now you also can utilize our Lens Flare impacts to do everything from summoning the show of a dusk to add some genuinely necessary bling to your photographs. We’ll demonstrate to you how it’s finished! You can easily make an amazing lens flare Photoshop. This post submitted by Clipping Path EU.
At the point when To Use Lens Flares in Photo Editing
While you can absolutely utilize focal point flares to improve any photograph, there are a few occurrences where they truly sparkle (no play on words expected!). These include:
- Scene Photography
- Dawns and Sunsets
- Representation Photography
- To Add Bling
- Night Photography and more…
The procedure of including Lens Flares:
For making Lens flare Photoshop you need to follow the instructions-

Main Image
-
The Base Flare
Take first a new layer above the Background layer-
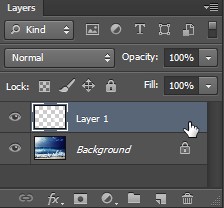
New layer
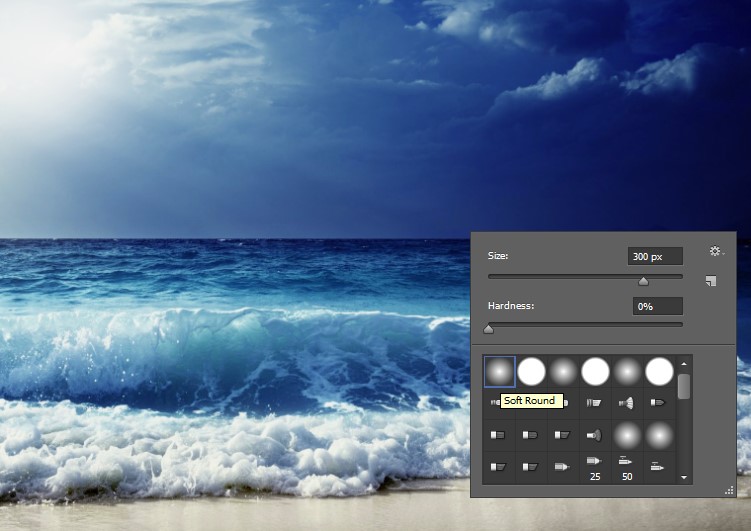
Brush tool
Add brush effect
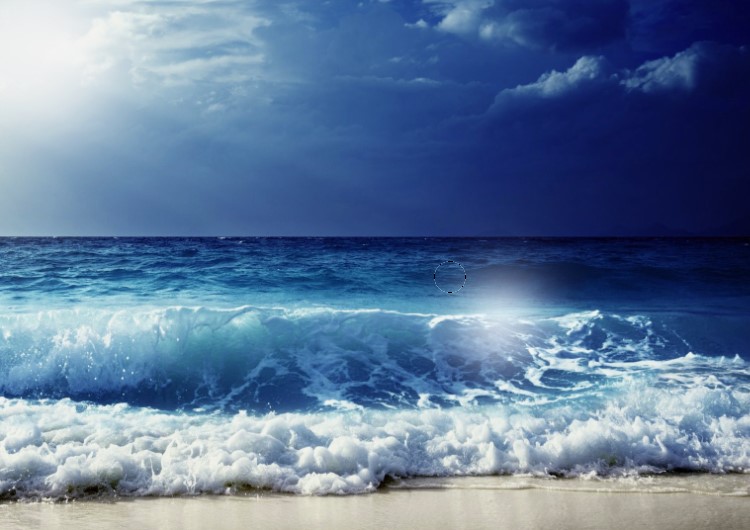
Make another layer and name it “Flare” and after that snatch the Brush instrument (B) and ensure you have an extensive, delicate edged brush and furthermore set your forefront shading to white and afterward click once in the focal point of your archive.
-
Include Noise
To add extra authenticity to our flare we should have some grain in it. Grain will likewise help decrease any sort of banding impacts that may start to show up contingent upon how the focal point flare interfaces with your picture. Go Filter>Noise>Add Noise and I included “8%” clamor for the measure of my picture. TIP: Zoom in and perceive how the grain looks, if it’s excessively discernible, simply back it off a bit.
-
Duplicate the Flare Layer
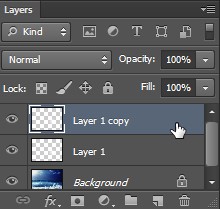
Copy the new layer
Hit Cmd/Ctrl + J to copy that flare layer to bend over our white flare impact.
-
Include Some Color
Select the lower “Flare” layer in the layers board and go Image>Adjustments>Hue and Saturation. I balanced my settings to change the white shading to an orange shading by setting “Tint” to 40, “Immersion” to 100, and “Gentility” to – 50. This will give us delicate orange shading.
- Blend Modes
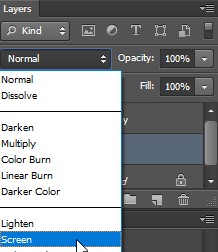
Make 1st layer screen
Opacity 50 on 1st Layer at Screen mode
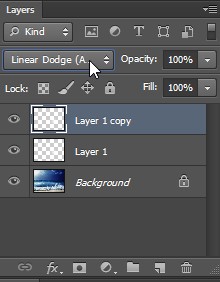
Linear dodge mode and opacity 100%
Next set the orange flare layer to a mix a greater amount of “Screen” to enable it to collaborate with the photograph underneath it. Set the white flare to a mixed method of Linear Dodge (Add). You won’t see a huge amount of progress, yet we will play with the obscurity to truly dial in the impact.
-
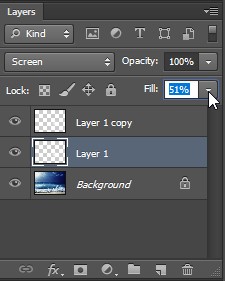
Murkiness and Fill to Blend
Utilizing the murkiness and fill sliders in the layers board, we can truly dial in this focal point flare impact. I’ve set the obscurity of the orange flare to “65%” and I changed the fill of the white flare to “35%”. TIP: I changed the fill murkiness of the white layer, NOT the consistent obscurity since utilizing the Linear Dodge (Add) mix mode and blending it with decreased fill mistiness tends to create a more sensible sun-like impact. (I discovered that trap from a person named Calvin Hollywood)
-
Move and Transform the Flare
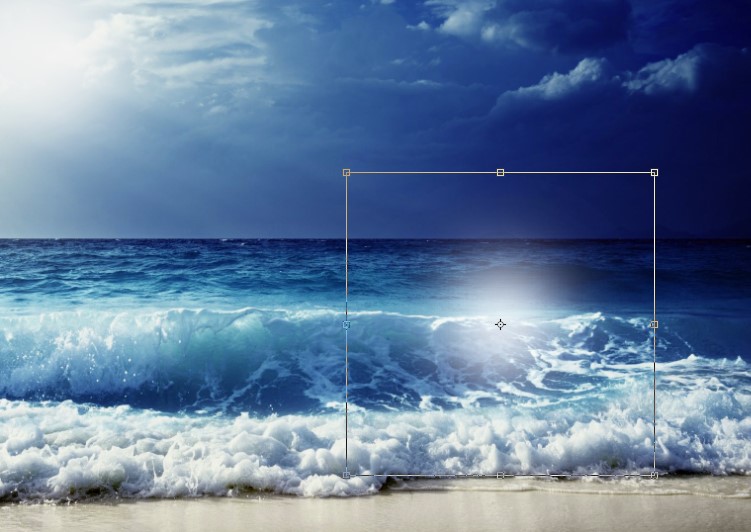
Replace your flare
Select the two layers and snatch the Move instrument (V) and drag the flare where you’d like it to be. TIP: You can even change and make the flare bigger or contort it (Edit>Transform>Distort) and it will at present look awesome on account of the grain and obscuring.

Read more:


