
Hello, world welcome to the best image editing service delivery company- “Clipping Path EU“. This company provides best quality image editing services with low-cost facilities. Clipping path express newer tutorials for growing the people concern about image editing works.
Stage 1: Make A Copy Of The Image
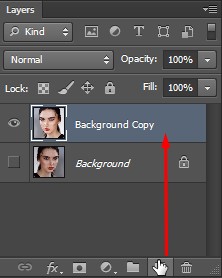
With the picture recently opened in Photoshop, the Layers board demonstrates the photograph on the Background layer. Before smoothing the skin, begin by evacuating any undesirable imperfections. To ensure the first picture, you’ll need to take a shot at a different layer. Influence a duplicate of the Background to layer by squeezing and holding the Alt (Win)/Option (Mac) key on your console, tapping on the Background layer, and dragging it down onto the New Layer symbol at the base of the Layers board:
In the Duplicate Layer discourse box, name the layer “Spot Healing” and after that snap OK:
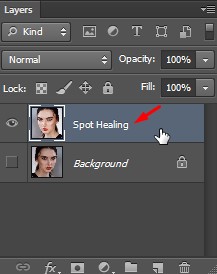
A duplicate of the picture shows up on another layer named “Spot Healing” over the first.
The underlying skin cleanup will now be done on a different layer.
Stage 2: Select The Spot Healing Brush
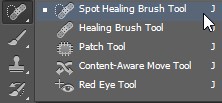
Select the Spot Healing Brush from the Toolbar:
Choosing the Spot Healing Brush.
Stage 3: Set The Spot Healing Brush To “Content-Aware”
Ensure the Type choice in the Options Bar is set to Content-Aware:
![]()
Content-Aware ought to be chosen as a matter of course.
Stage 4: Click On The Skin Blemishes To Remove Them
Tap on any undesirable skin imperfections with the Spot Healing Brush to expel them. Photoshop will right away “recuperate” the flaws by supplanting the issue surface with great skin surface from the encompassing zone. For best outcomes, make your brush marginally bigger than the flaw. To change your brush measure, press the correct section key ( ] ) on your console to make the brush bigger or the left section key ( [ ) to make it littler. In the event that the imperfection hasn’t totally left on the main attempt, fix your snap by squeezing Ctrl+Z (Win)/Command+Z (Mac) on your console, at that point resize your brush if necessary and tap on a similar flaw to attempt once more.
Illustration: Removing Skin Blemishes With The Spot Healing Brush
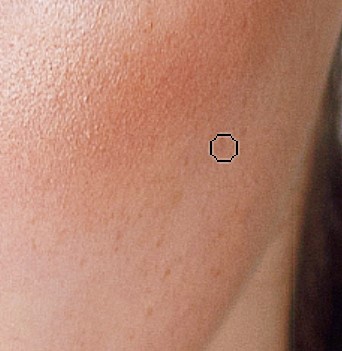
On the off chance that we take a gander at the lady’s temple in my picture, we see what resembles a huge pimple just to one side of focus. I’ll position the Spot Healing Brush over it, and I’ll make my brush somewhat bigger than a pimple itself:
Situating the Spot Healing Brush over a skin imperfection.
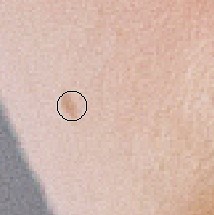
To expel the flaw, I’ll tap on it with the Spot Healing Brush. Photoshop examines the zone I tapped on, discovers great skin surface from the territory encompassing it, and after that mixes the great surface in with the issue zone’s unique tone and shading. Like enchantment, the flaw is no more:
SP tool using 1
SP tool using 2
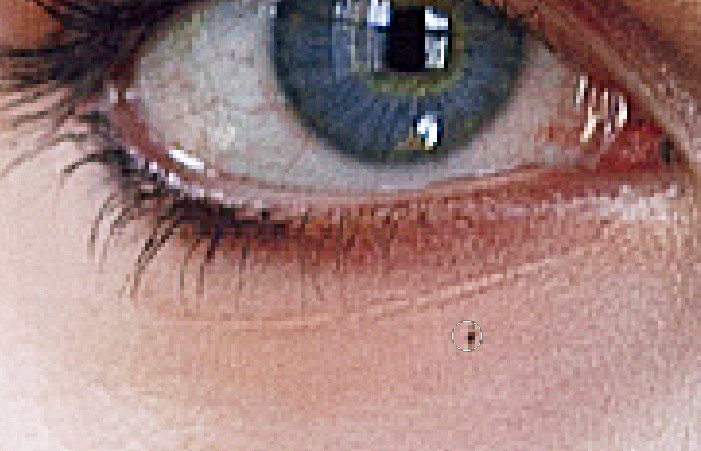
I’ll do a similar thing with another imperfection on her temple, keeping the Spot Healing Brush slightly bigger than the region I have to recuperate.
I’ll tap on the imperfection, and by and by, Photoshop in a split second expels it:
After a couple of more snaps with the Spot Healing Brush to tidy up the rest of the imperfections on her brow, her skin is as of now looking much smoother:
Evacuating Blemishes, Not Features
As you’re correcting the skin, remember that while it’s alright to evacuate transitory issues like skin break out or other minor skin issues, it’s typically not alright to expel changeless highlights like moles or even certain scars, as these are a piece of what makes somebody their identity. All things considered, the objective of picture modifying is to enable individuals to look awesome, not to influence them to appear as though another person. Clipping Path EU Ltd is the best place for photo retouching service.
Finishing The Initial Skin Cleanup
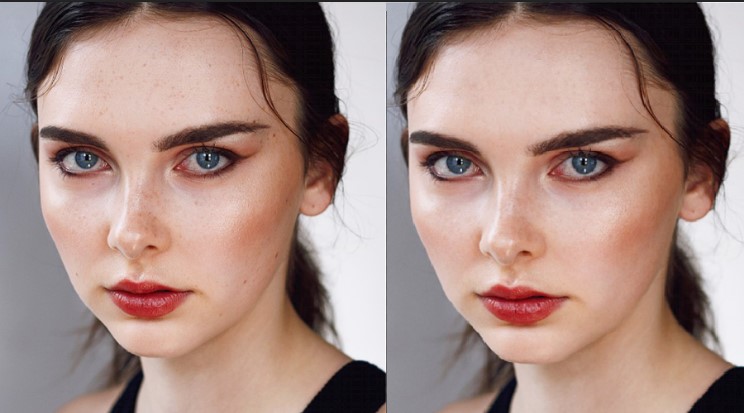
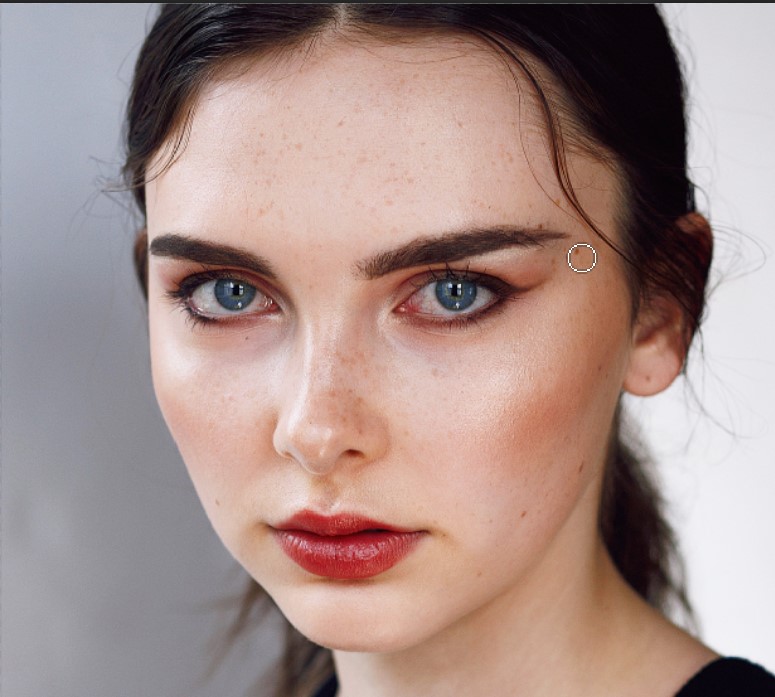
Keep working your way around the individual’s face to expel any residual flaws. Here’s a one next to the other examination of what the lady’s skin looked like initially (left) and after some speedy modifying with the Spot Healing Brush (right). With most photographs, this underlying skin cleanup should take close to a couple of minutes. I secured the Spot Healing Brush rapidly here, yet you can take in more about it in my Removing Acne, Skin Blemishes With The Spot Healing Brush instructional exercise:
A preceding (left) and after (right) correlation of the underlying skin correcting.
Stage 5: Make A Copy Of The “Spot Healing” Layer
With the flaws evacuated, we’re prepared to smooth and diminish the skin, and once more, it’s best to deal with a different layer. Back in the Layers board, make a duplicate of the “Spot Healing” layer by squeezing and holding the Alt (Win)/Option (Mac) key on your console, tapping on the “Spot Healing” layer, and dragging it down onto the New Layer symbol:
In the Duplicate Layer exchange box, name the layer “Smooth Skin” and after that snap OK.
We now have the first picture on the Background layer, the underlying skin cleanup on the “Spot Healing” layer, and another “Smooth Skin” layer above them:
Stage 6: Apply The High Pass Filter
To smooth the skin, we’ll utilize Photoshop’s High Pass channel. Go up to the Filter menu in the Menu Bar, pick Other, and after that pick High Pass:

Going to Filter > Other > High Pass.
Why The High Pass Filter Is Great For Smoothing Skin
In case you’re comfortable with the High Pass channel, it’s in all likelihood since you’ve utilized it to hone pictures in Photoshop. Despite the fact that we’ll be utilizing High Pass to smooth skin, not hone it, a considerable lot of the means are the same. The High Pass channel searches for edges in the picture and features them.
An edge is a region where there’s a major, sudden change in splendor or shading between neighboring pixels. With representation photographs, the edges are for the most part along the individual’s hair, around the eyes, the mouth, et cetera. Skin surface, then again, has generally low measures of detail with much smoother changes. These territories are not viewed as an edge, so as opposed to featuring them, the High Pass channel fills these zones with impartial dark.
In the event that we were honing the picture, the High Pass channel would enable us to hone the edges (the points of interest) without influencing the skin. Be that as it may, for smoothing skin, we utilize High Pass for the contrary reason. We’ll identify the edges not so we can hone them but rather so we can smooth and mellow everything with the exception of the edges. We should perceive how it functions.
The Radius Value
The High Pass channel identifies edges and features them, and the Radius alternative at the base of the High Pass discourse box controls the “thickness” of the edge featuring. At the end of the day, once Photoshop has identified an edge, the Radius esteem discloses to it what the number of pixels on either side of it to incorporate as a feature of the edge.
Low Radius esteems will feature just the finest subtle elements in the picture. Be that as it may, to ensure we don’t wind up softening these imperative subtle elements, we have to feature the territories around them also, which implies we require a bigger Radius esteem. For a run of the mill picture shot, a sweep of 24 pixels functions admirably:
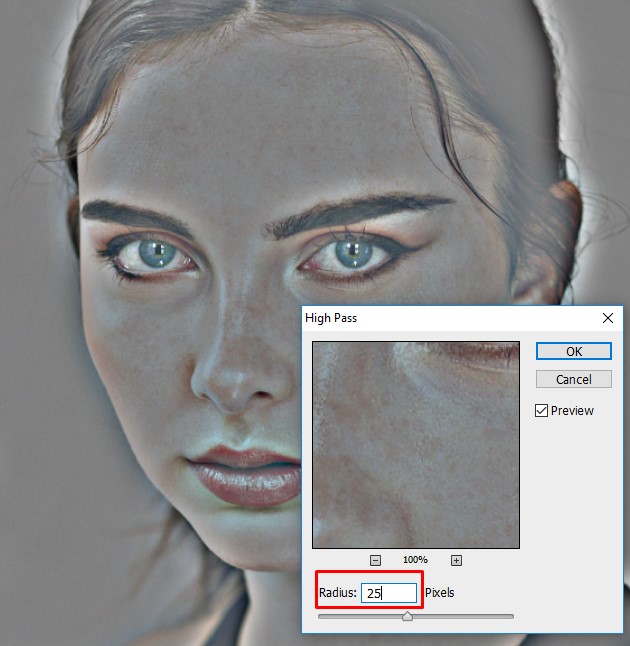
Setting the Radius incentive to 24 pixels.
On the off chance that your subject is further back in the photograph, or you’re taking a shot at a lower determination picture, a littler Radius estimation of 18 pixels or even 12 pixels may work better. Why these particular qualities? This is on the grounds that it’s vital for the subsequent stage that you pick a Radius esteem that is effectively separable by 3. For instance, 24 separated by 3 is 8, 18 isolated by 3 is 6, and 12 partitioned by 3 is 4. Pleasant, simple numbers. Once more, we’ll see why in the subsequent stage.
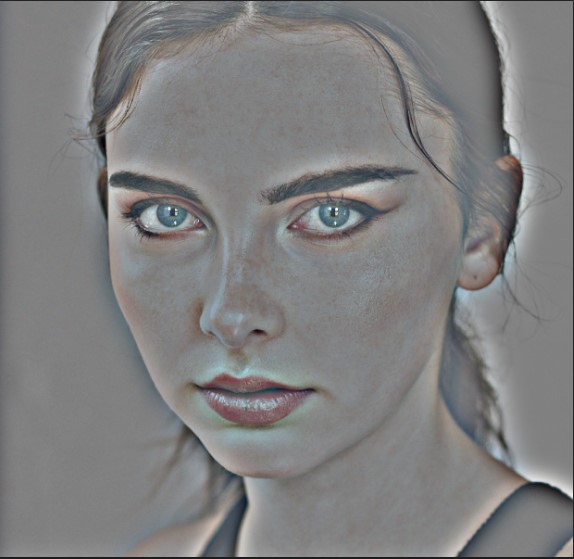
Snap OK to close the High Pass discourse box. Your picture will turn generally dark. Strong zones of dark are the non-edge territories with practically no detail, similar to the skin, while extensive, high difference coronas feature the edges:
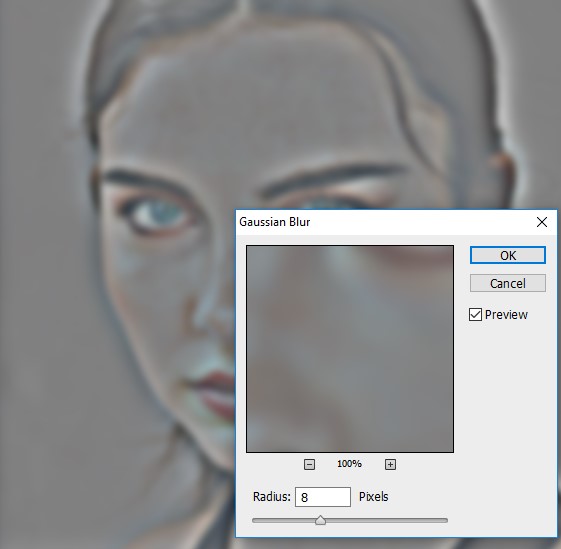
Stage 7: Apply The Gaussian Blur Filter
We have to obscure the High Pass channel impact. It might appear to be irrational, however, the obscuring will really bring out the more great surface in the skin. Go up to the Filter menu, pick Blur, and after that pick Gaussian Blur:
Going to Filter > Blur > Gaussian Blur.
In the Gaussian Blur exchange box, set the Radius incentive to precisely 33% of the esteem you utilized for the High Pass channel. For my situation, I set the High Pass sweep to 24 pixels, so I’ll set the Gaussian Blur range to 33% of that, which is 8 pixels. Snap OK to close the exchange box:
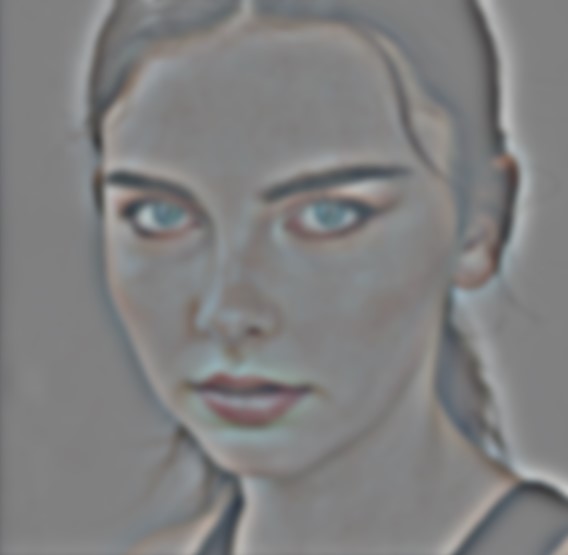
With the obscuring connected, the High Pass impact now looks gentler and less point by point:
The come about subsequent to applying the Gaussian Blur channel.
Stage 8: Change The Layer Blend Mode To Linear Light
In the Layers board, change the mixing method of the “Smooth Skin” layer from Normal to Linear Light:

This mixes the High Pass result in with the picture, making a high complexity, over-honed impact. It might look appalling, however, don’t stress. It will look far more detestable in a minute:
The picture in the wake of changing the Smooth Skin layer’s mix mode to Linear Light.
Stage 9: Invert The Layer
Go up to the Image menu, pick Adjustments, and after that pick Invert:
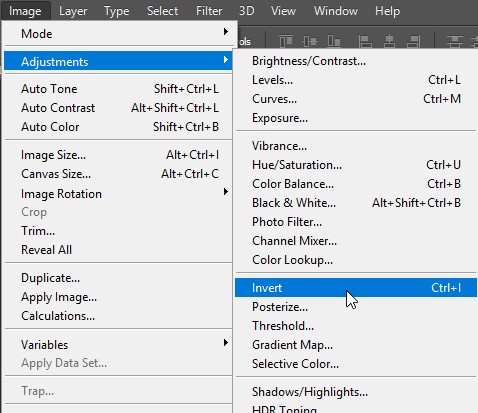
Going to Image > Adjustments > Invert.
With the layer altered, the picture goes from being over-honed to resembling an abnormal, foggy disturb huge revolting coronas around everything.
Stage 10: Open The Blending Options
- To lessen the corona impact, tap the Layer Styles symbol at the base of the Layers board
- Pick Blending Options from the highest priority on the rundown
Stage 11: Drag The “Mix If” Sliders
In the Layer Style discourse box, search for the Blend If sliders at the base. There are two arrangements of sliders, one named “This Layer” and one beneath it marked “Basic Layer”. We require the best sliders (the ones marked “This Layer”):

Learn more: Crop photo with circle shapes in Photoshop