Water Splashes effect is an awesome thing for making photoshop manipulation service. This Photoshop tips exercise demonstrates to you proper instruction to make those energizing water splashes and add them to photographs to truly make them awesome. Spoiler alarm, these are substantially less demanding to do that you think, look at the video and see with your own eyes and afterward share your water sprinkle impacts with whatever remains of us over at Clipping Path EU.
Now we’re are going to make this awesome water splashes effect by yourself following some steps.
How to make Make Water Splashes In Photoshop Step By Step Tutorial
Stage 1: PREPARE THE IMAGE
First, open your image which you want to add water splashes on it. Here I used water jar with city background image. At that point we truly make it fly with the water.
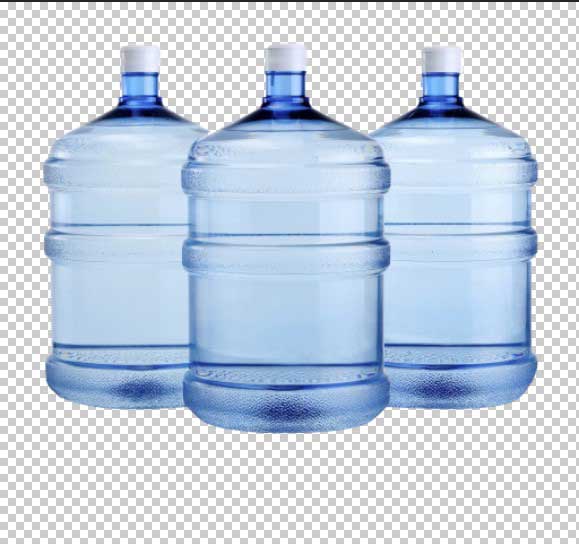
Note: Here you need to keep in mind that this image must be PNG or Transparent, cause we use it on another background.
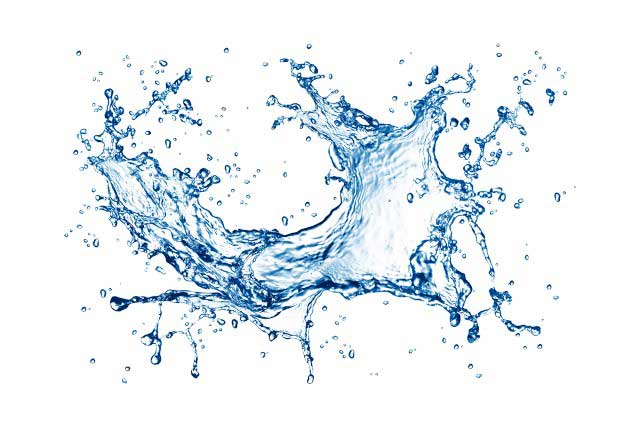
Stage 2: CREATE THE SPLASHES
For this situation, we will make brushes out of the sprinkles. The preferred standpoint to this technique is that it’s extremely simple to reuse the sprinkles for different things and it’s extremely quick to work. The impediment is that you don’t get the opportunity to keep all the first hues. (I’ll be completing a moment instructional exercise one week from now that demonstrates another strategy that jams the hues).
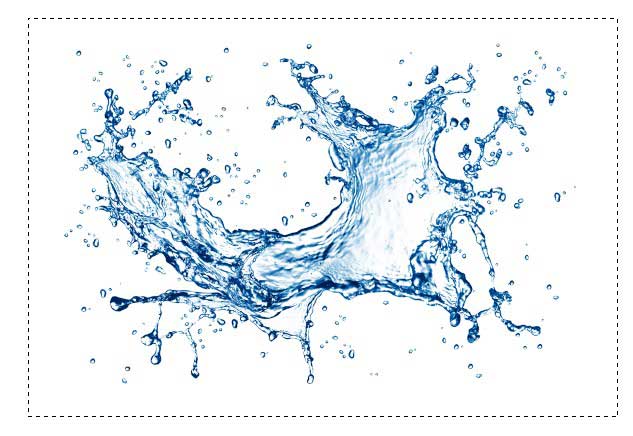
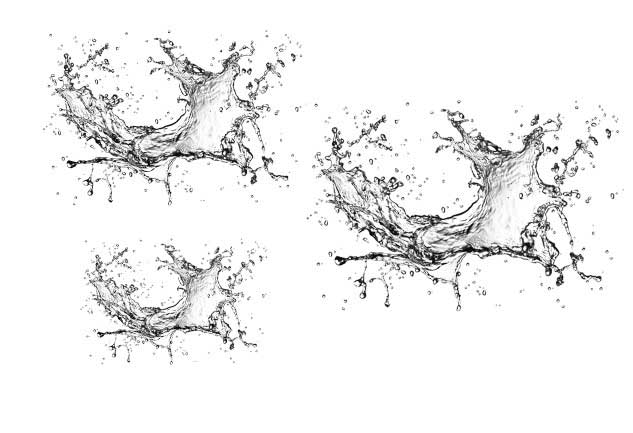
- Open your picture that contains your sprinkles, here is the Water Splashes PNG file which is used for making water splashes.
- Make a determination around it with the rectangular marquee device.
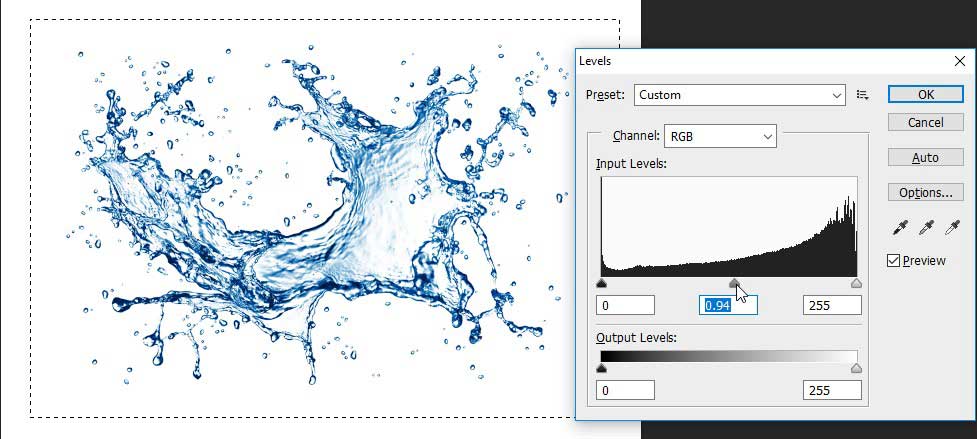
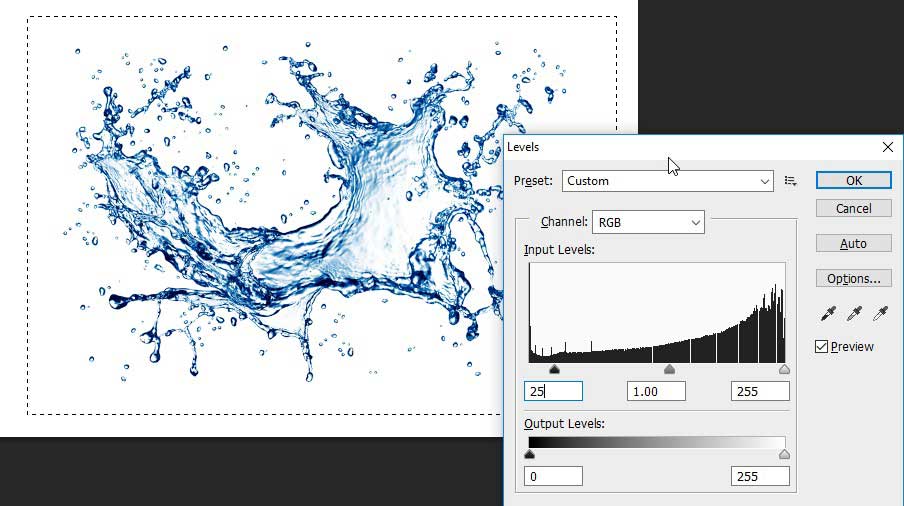
- (Optional) If the picture needs to differentiate, at that point press Cmd/Ctrl+L for levels. Move the Black triangle to one side
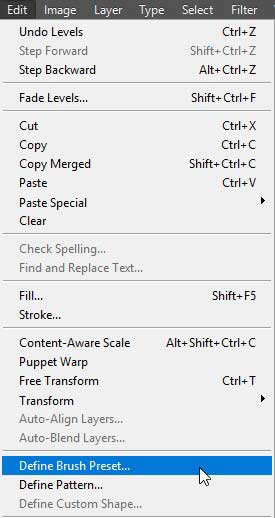
- Choose Edit> Define Brush
- Pick the shrubbery apparatus from the toolbar and select your new brush. Tap on your page to paint with the brush. Squeezing the [ or ] keys will change the brush measure.
Here are some artistic creation tests to see it works. Proceed with these means with various sprinkles to make a progression of brushes.
Stage 3: ADDING THE SPLASHES TO THE PHOTO
- Select the brush device (b key)
- Pick white as your forefront shading, so we will influence white to water
- Pick the Splash brush to paint with.
- Make another layer to paint on. For this situation, I influenced the layer behind the artist to picture.
- Resize the brush [ or ] keys. With Opacity swung up to 100, I tapped once with the brush to make the water.
- Don’t hesitate to reposition, pivot, and scale the water. This is the reason it’s another layer.
- Here I have made the foundation black dark to make sure you can see the water better.

- This time I picked another brush and included more sprinkles another layer.
To control sprinkles, pick another layer and tap with another brush. Press Ctrl/Cmd+T for nothing change. Drag around the jumping box to scale, pivot and extend the water into the position you like.
- Continue including more sprinkles, these are our artist.
- Likewise, include a few sprinkles before our artist and control the water to do what you need it to do. (Don’t hesitate to utilize liquefy as well).
- Furthermore, this is the thing that it would seem that when I demonstrate the first foundation.
- Each sprinkle is an alone layer. This is the thing that the layers board resembles.
So your water splashes effects are adding the jar and it looks realistic.
Stage 4: Background making
Now we are at the stage of making awesome background behind the Jar with water splashes effect.
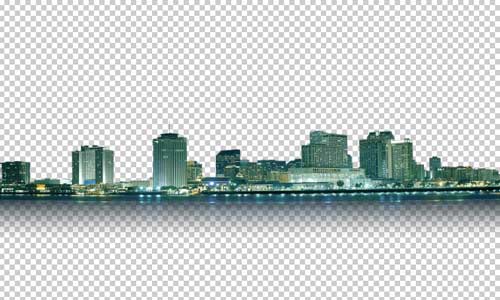
- Open an City background PNG image and place it above on the jar layer
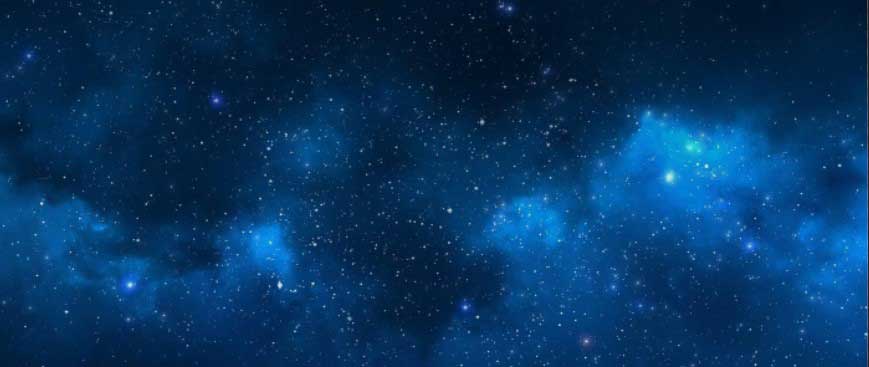
- Place a Blue effect night sky image for adding the sky behind the city. You can change the color of your sky image by Hue and saturation effect.
- Make a Gradient effect background like that image-

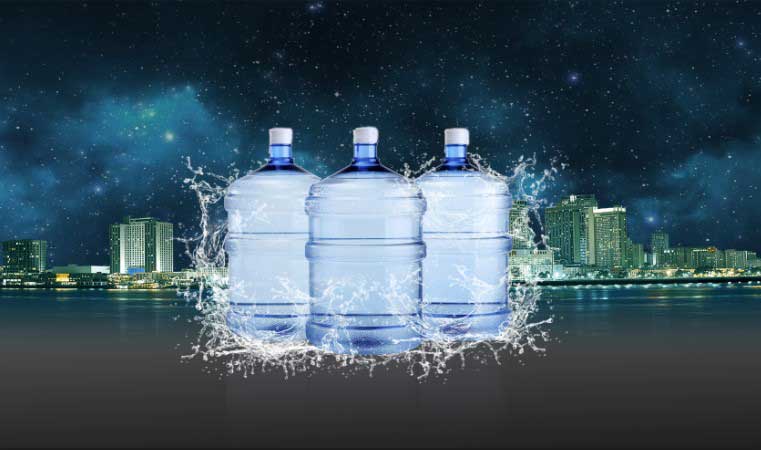
- Look! this is the final manipulated image with the city, blue sky and gradient effect background. Try to make this one.
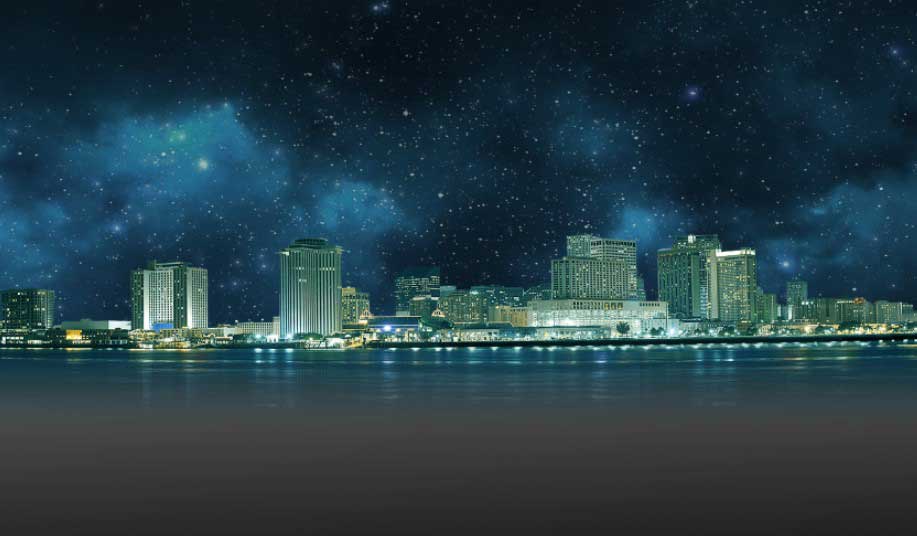
>> Now it’s time to arrange the water jar with splashes above this nice background.
- Move the Jar with water splashes image layer on the top of the background layer. Here you can add reflection for viewing more realistic look.
- First, make a copy of the water jar layer.
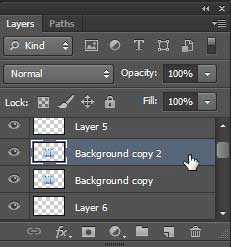
- Then verticle it and place the bottom of main jar image.
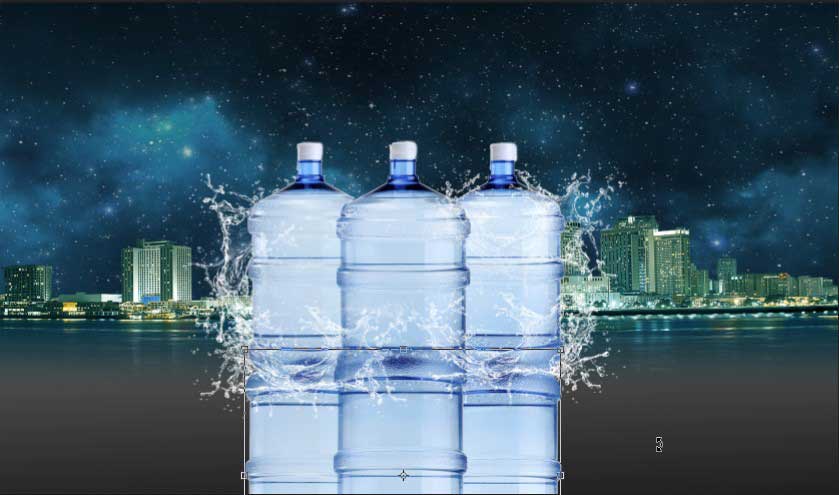
- Mask the Layer-
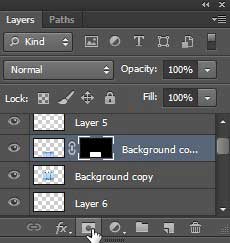
- Add gradient effect on that layer for making reflection effect.
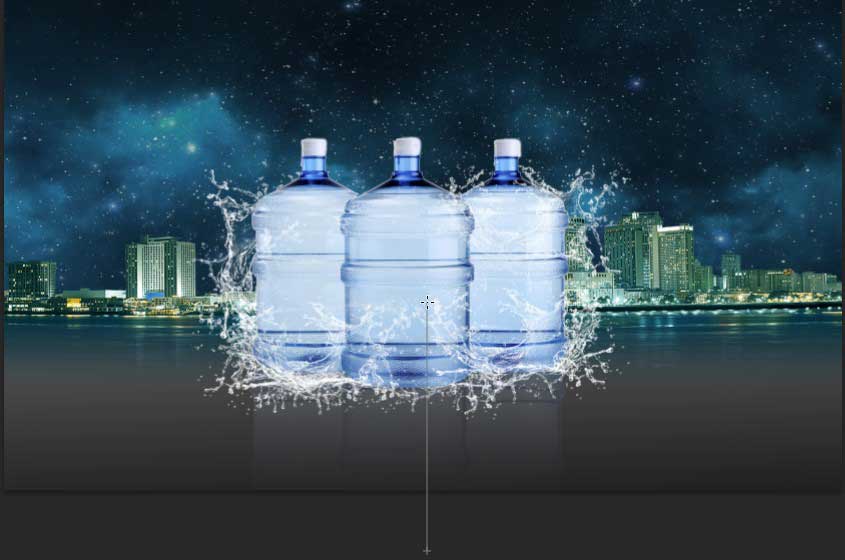
- Next, add blur effect of that layer-
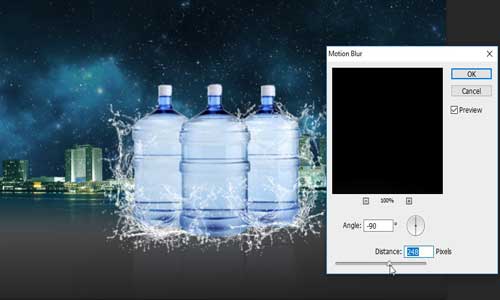
Now you can see the amazing effect of water splashes on the Jar and hope you’ll enjoy this tutorial.
You can follow “Photoshop Cafe” for more related tutorials.
Learn more: Car enhancements with Lighting Effects in Photoshop
