Simple tips of opacity mask and clipping Path: Opacity Masks and Clipping Paths are two of the most utilized instruments in my work process. They enable me to effortlessly uncover or shroud craftsmanship without erasing anyways. As in every single computerized workmanship. it’s best to outline your work process to take into account most extreme editability. It is inescapable that either the customer will alter their opinion through the procedure or this strategy considers simple updates and alters, prompting less pressure and more joyful customers.
In the first place, how about we characterize the distinction between a Clipping Path and an Opacity Mask:
- Clipping Paths are Binary tasks connected against all ways/protests inside a layer. This can even incorporate sub-layers with independently characterized Clipping Paths.
- Opacity Masks are dark scale Maps connected against singular ways/questions as it were. The main special case is that an Opacity Mask might be connected to an arrangement of items on the off chance that they are grouped.

It might be less demanding to comprehend with this basic illustration:
In the center, I have connected a star-molded Clipping Path to the layer containing the turquoise circle way, demonstrated as follows. Since Clipping Paths is a yes or no idea, the task just perceives if there is or if there isn’t a way. The circle is uncovered where there is a way and covered up without that way.
To one side, I have connected an Opacity Mask to the turquoise circle way. Since Opacity Masks perceive the full scope of dark to white, I utilized an angle to demonstrate the scope of qualities between full haziness and no darkness, something we will do again in a tad.
Obviously, we can make Opacity Masks of any strong shade of dim to appoint diverse rates of straightforwardness/darkness. The default settings for Opacity Masks are: white is obvious, dark undetectable, all the grays in the middle of relating in like manner. Clipping Path EU is a best quality image editing service provider.
Clipping Path
- Cropping a whole bit of work of art to the Destination. Ordinarily I will have work of art that expands well past the measurements wanted for the delineation, however, I Clip the craftsmanship to the right measurements in addition to the fitting drain.
- Revealing examples, surfaces, or foundations inside a territory (and in this manner barring it in different territories) without erasing anyways or articles
Stage 1
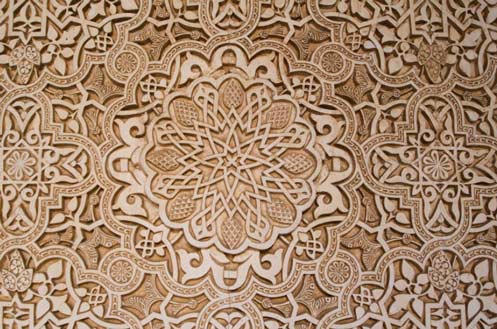
For this exhibit, I will Clip the beneath foundation to a particular shape. Both the turquoise and the jellyfish are in a similar Layer.
Stage 2
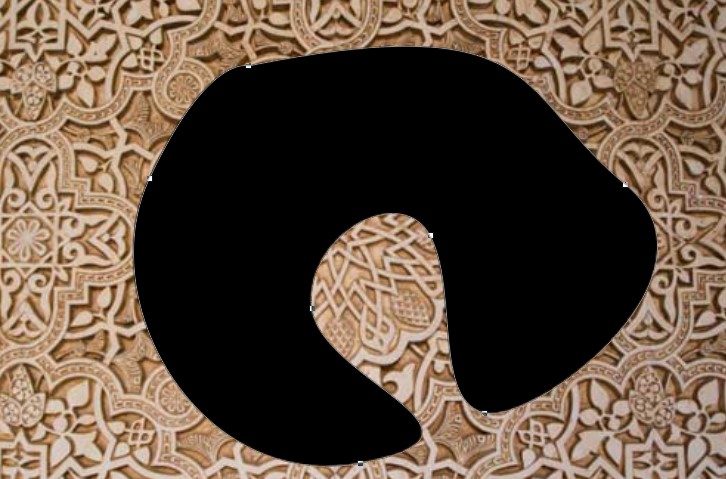
Presently we have to make a way or shape to Clip as well. This case is like what I may improve the situation a little spot delineation. Rectangles are so exhausting and unsurprising, how about we accomplish something natural. So you can without much of a stretch see it, I’ve set the shape I need to cut as strong dark. I, as a rule, draw this way unfilled, with a thin stroke so I can see it for precision.
Stage 3
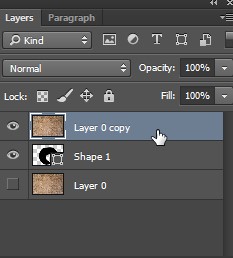
On the off chance that the Path you need to cut the layer to isn’t at the highest point of the layer set, move it there and tap on the Make/Release Clipping Mask catch at the base of the Layers board. The Icon demonstrates a plot circle and square with their association shaded in. Make sure to choose the layer that you need to apply the Clipping Path to, in this illustration; it is “Layer 2,” not simply the way.

Presently once the Clipping Path connected, you see the outcomes. Just the work of art straightforwardly underneath the Path uncovered.
Simple tips of opacity mask and clipping Path
Anytime, you can simply get the Path and move it around on the off chance that you need. Commonly your Clipping Path may not be impeccably adjusted so it’s pleasant to be able to push stuff around. Indeed, even the shape itself isn’t lasting – you can alter the individual control focuses! You can discharge the Clipping Path by choosing the Clipping Path. Tapping on a similar symbol that made it in the Layers board or to totally expel it you can drag the way into the Trashcan in the Layers board.
Section 2: Opacity Masks
Stage 1

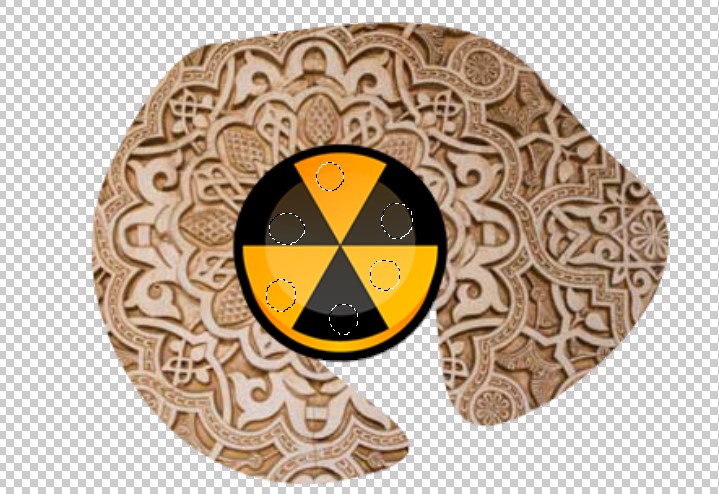
I’ve put a straightforward Jellyfish character before our naturally Clipped foundation. We will add a few spots to the Jellyfish that will blur as they close to his eyes and mouth. I’ve laid out the spots here at first so you can see where they cover the white foundation.
Stage 2
Presently I have chosen the body of the Jellyfish and duplicated it and pasted in Front. I at that point connected a basic angle through the Gradient board. You can see this shape beneath. We will utilize this as the Opacity Mask.
Stage 3
I at that point cut the new inclination shape to expel it from the work of art. keeping it on the Clipboard for use in one moment. In the wake of choosing the white dabs and Grouping them. I move to the Transparency board and double tap in the clear region alongside Thumbnail of the dabs.
With the way/protest/bunch that you need to apply the Opacity Mask to choose. Double tap in the Transparency board to initiate the Mask Layer, as demonstrated as follows.
Stage 4
Since I have advised Illustrator to apply an Opacity Mask to the Group of specks, I Paste in Front once more (Paste in Front/Back are decent summons as they take the replicated/cut ways and place them in the correct area where they originated from) in this Opacity Mask zone. Order + F are Paste in Front and Command + B is Paste in Back.
In the event that you outwardly observe the slope on the Artboard after you glue, it implies you aren’t working in the Opacity Mask region. In the Transparency board, you will see a slight diagram around either the left or right square. The left square is your Artboard craftsmanship, the privilege is the Mask.
It’s anything but difficult to overlook on the off chance that you are chipping away at the Opacity Mask or the Artboard so ensure you are taking a shot at the right one. When you glue into the Opacity Mask you won’t see it on the Artboard, however, a review of the shape(s) will appear in the Transparency board, as demonstrated as follows.
You will see a symbol of a Chain Link in the middle of the two. This implies in the event that you move the fine art the Mask moves with it. On the off chance that they opened you can move the work of art autonomously of the Mask. This is helpful if, for example, you have an Opacity Mask in the state of a shirt, yet the example isn’t arranged effectively, you can move the example and the shirt remains still.
Simple tips of opacity mask and clipping Path
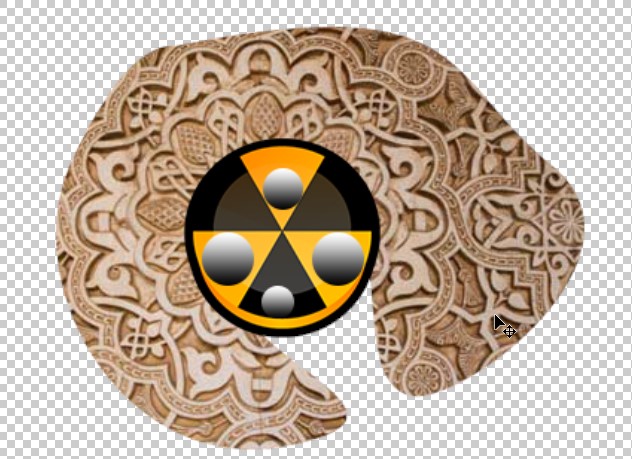
Additionally, see I clicked Invert Mask on the Transparency Board. This essentially changes whether dark or white goes about as the square. Or the noticeable end of the range and the other way around.
Check out our- Clipping path service.
Learn more: Specific use of Clipping Path Service


