
In case you’re a business or design picture taker, in the long run, you’ll keep running into a customer who will request to have their item, display, and so on. To be set on an impeccably white foundation. This technique is extremely famous in the web-based business and print enterprises for some brands, merchants, and lists. However, a few systems in after generation cause a few cerebral pains and are likewise tedious. So what precisely is the best and snappiest work process to get that ideal white foundation for your customer?
Over the recent years, I’ve explored different avenues regarding numerous techniques on the best way to reliably accomplish this in post handling. Before we get to the idiot-proof work process of making a white foundation in Photoshop. Here are two or three traditional post-handling techniques that I’ve found subsequent to burrowing to discover an answer on the web throughout the years. You can get regular tips on Photoshop Image editing from Clipping Path EU.

Section Using the Pen Tool
Cutting by utilizing the pen device is an extremely viable approach to accomplish a white background. The procedure includes essentially following around the edges of your item, removing it and setting your picture over a white layer. In spite of the fact that this strategy is extremely precise, it is exceptionally tedious particularly on the off chance that you have a vast clump to get out to customers. Another drawback is when part of the item is sharp and different parts are obscured due to the profundity of the field. Once the item is a pattern, there’s a possibility the item will look unnatural around the edges. Clipping Path is the best solution for cutting out an image.
Modification Brush Using Auto Mask
This is likewise another well-known technique, particularly for Lightroom clients. What is done here is the change brush is chosen and the modifications board has appeared in your “Create” box on the right. From that point, you can either raise the introduction to make the foundation white. The brush is set to auto veil so the brush can translate the differentiated edges of your subject and your white foundation. From that point, you just paint around the edges.
While this is a speedy and simple process, it’s exceptionally all in or all out if the auto veil brush can precisely cover out of the edges impeccably. Hence, this wouldn’t be the go-to strategy to accomplish an impeccably white foundation.
The Best and Quickest Method
Affirm, so now that we’ve experienced several well-known techniques that you could conceivably of attempted, I will demonstrate to you my work process. Which I’ve observed by and by to be the best and fastest approach to get that predictable white foundation.
This procedure was found by total mishap, I really got the most critical advance (see Step Five) from picture taker and retouched. When he was clarifying how he shading grades for his representations. In the wake of watching him utilize this strategy, a light went off in my mind and quickly attempted it for item photography to check whether it would work, alongside a couple of extra advances that I included to make my own particular work process. It did work, and it has each time reliably from that point forward. Over that, it is passed on the quickest, a most exact strategy I have found. The best piece of this procedure is that it holds the shadow and gives you that common, proficient look we as a whole take a stab at.
We have a video for you to see my work process and clarify this procedure. I additionally have this instructional exercise worked out well ordered for you underneath. And furthermore, make a point to share your outcomes subsequent to attempting this procedure with your photograph in the remarks segment beneath!
Stage One: Place Your Subject on a White Background
It is vital to have your item or model put on a blandly white foundation. This is a decent beginning stage so we when we go into the post, we won’t experience issues isolating the two. For this exhibition, I basically set this purse over a white publication board and another notice behind it. I likewise had two white v-pads on each side. A light box would likewise be appropriate for this.


Stage Two:
Open Image in Photoshop. Make Necessary RAW File Adjustments. Before we truly begin, we generally ensure the shading balance is right and everything is squared away. Make some other changes you feel fundamental for you’re subject to fly in the last picture.
Stage Three:
Select Color Range
In this progression we will choose our experience by opening “Shading Range” highlights in Photoshop:
Select > Color Range
Since the Color Range board is open, we will utilize the eye dropper apparatus that is normally effectively open as a matter of course and basically tap on your white foundation. From here, we have to alter the fluffiness alteration. Utilize your best judgment to locate that sweet spot where the subject is a pattern. The subject ought to be dark and the foundation ought to be white for the veil. In the event that your subject isn’t totally dark, don’t stress; we will settle this in the following stage. In case you’re cheerful where the cover is, at that point click “alright”.
Stage Four:
Group and Mask Your Selection
In the wake of clicking OK, your choice ought to show up with the “creeping ants” appeared around the edges. It doesn’t need to be impeccable right at this point. From here we just open another gathering and snap veil in the layers palette.
After we make a gathering with our cover, Alt+Click on the gathering veil. The cover you made should now be unmistakable.
Stage Five:
Make Adjustments to Mask and Finalize
This might be the most basic advance all the while. With the cover still noticeable, we will choose our brush device and set it to dark. Starting there we will change our brush mode from “Typical” to “Overlay”. (100% Opacity, 100% Flow, 0% Brush Hardness) This is essential since when the brush is set to the shading dark and “Overlay” mode, the brush will obscure just the dull zones of the veil and overlook the white territories of the cover. This is the manner by which you adequately isolate the subject from the foundation.
While doing this simply try to center around your subject. In the event that the edges for reasons unknown are as yet dull, that is alright. We will settle that in the following stage.
Stage Six:
Create White Background
Starting there, in case you’re content with your veil choice. Make another layer in the gathering, and fill the layer with white .

Model with white background

Process of Clipping Path
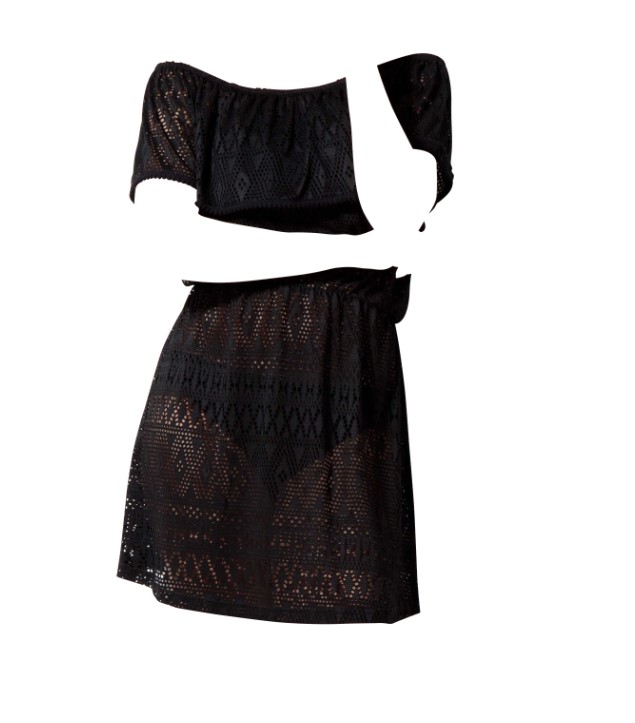
Dress Clipping Path
Check out our: Background Removal Service
Stage Seven:
Finishing Touches
After stage six, you ought to have a flawlessly white foundation for your picture. On the off chance that there are still some darker regions around the edges, make another layer over the gathering and fill the zones with a white brush.

Different color after clipping
Confirm Your White Background
On the off chance that you need to affirm the white foundation, you can redo the primary board of the foundation in Photoshop. Essentially right-tap on your board alongside your picture and afterward take after these means:
Select Custom Color… > OK
This makes the entire foundation white and ought to show up as though your subject is skimming. Here we can distinguish in the event that we missed any edges. In the event that everything looks at affirm, congrats you have a flawless white foundation!
Learn more: Clipping Path For Vector


