What is Photoshop Clipping Path?
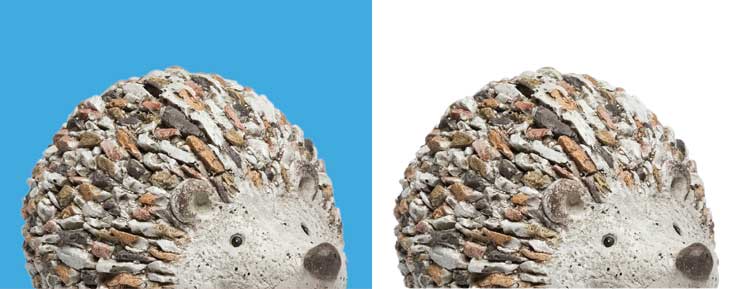
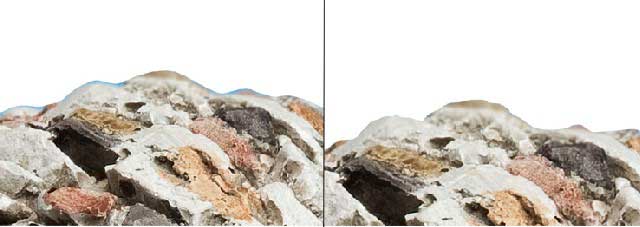
As with so many things in Photoshop design there several ways to achieve good quality Photoshop clipping path in Adobe Photoshop CS6. The best technique to describe an image cutout is visual. So below you will see two sample of the same image. On the left is an unmasked image and on the right side is an image cutout:
If you are designing anything that requires an image cutout of some sort, there are different ways of accomplishing the appropriate result, depending on the type of image you are working with and the background onto which it will be placed. The common process is to use Photoshop clipping path to cutout the photo.
We explain here how to use a vector path to mask off areas of a picture so it can be placed within Indesign as an EPS file. Only an EPS image file can bear vector data. A path created in Photoshop is mostly like an Adobe Illustrator path. It is vector graphic which defines the edges of a photo using Bézier Curves.
In Photoshop you can create a vector shape with the help of path, tracing over the top of a photograph. You can save the file with Photoshop to so that only the part of the photo contained within the path will appear in your layout program. This vector path is called clipping path.
The Worst technique to create Photoshop clipping path: Magic Wand Tool…
If anybody ever advises you that the Magic Wand Tool is the thing to use when creating a clipping path in Photoshop, please don’t follow. It is a massive shortcut, but like most quick fixes, the results are really terrible, and it takes twice as long to fix it as it does to do it rightly.
The Magic Wand Tool selects a massive field of similarly colored pixels and creates a selection area. If you SHIFT-CLICK on another filed of color it will add the selection of the existing field.
This technique is best when you have a large area of the same color to select. You can alter the broadness of the color selection by increasing or decreasing the value in the Tolerance field of the Options Palette. 32 is the default value.
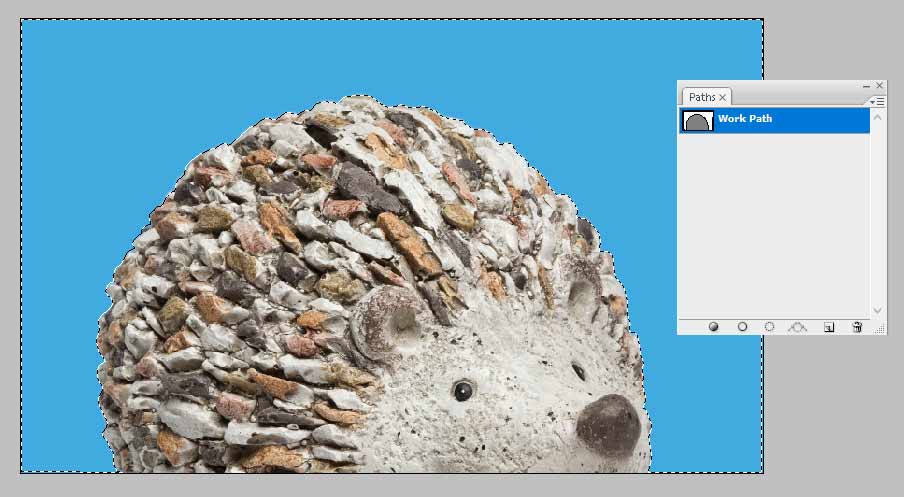
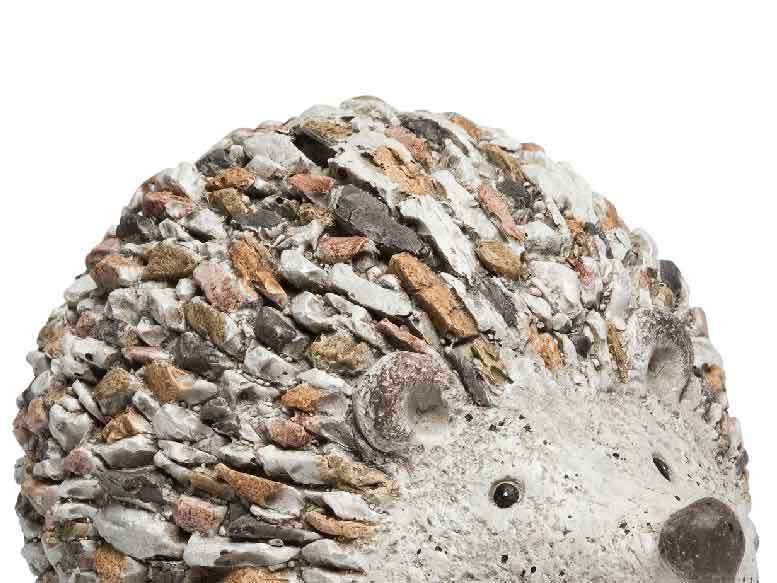
As an example, the image used in this tutorial would be a superior Magic Wand applicant because there is a large area of blue sky to select. To create a poor quality clipping path, click on the blue field above the image with the magic wand tool. Then, while holding the shift key, click on the blue area bottom left of the photo. You will end up with the photo shown below. All shapes of blue are selected. Go to Select in order to select the image instead of the sky.
If you want to create vector path, please go to the Paths Palette. Then click the submenu arrow top right and select make work path. It will request you what tolerance to enter. The superior the figure, the more points will come into view on the path, and the closer it will hug the photo. The lower the number, the fewer points will come into view on the path, and the smoother the path will be. For now, put a value of 2.0.
After the work path has been completed, select Save Path from the same submenu. Then click the submenu again and select clipping path. You will be needed for a ‘Flatness’ value. Leave this blank- you do not to worry about Flatness unless you experience printing problems. In this work type ‘Flatness’ into Photoshop help for assistance.
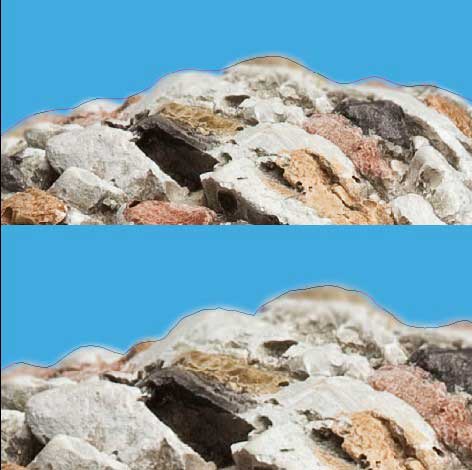
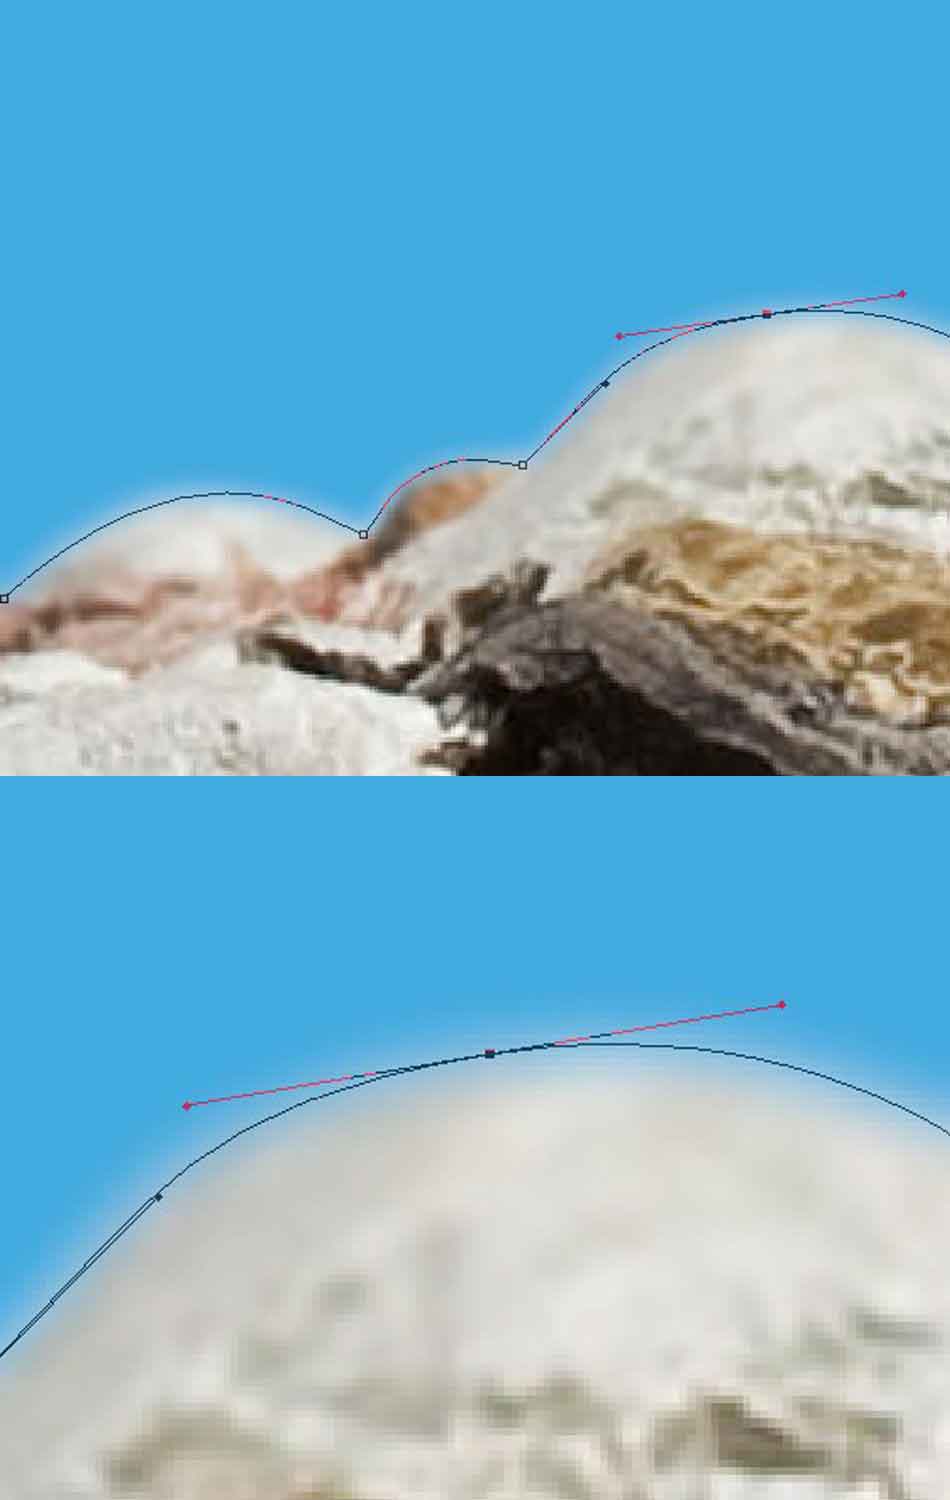
Now zoom in on the path that is you just created. If you used a value of 2.0, the photo below left will show you how improper the path was. And if you used a lower grade, select or put 0.5 the 2nd image below will show you how unevenly the result will be.
If you want to convert your image to CMYK and ensured that it is 300 DPI with actual size. Save the image as a Photoshop EPS file with the default values. Then place your image in Indesign. Select view/display performance/ high-quality display in order to get the best on-screen re-draws. You will see the Photoshop clipping path a tolerance level of 2 will show an exact result. But allow the field of the background to appear, and will cut into the image where it should not. Photoshop clipping path with a lower tolerance makes the image edges appear rough and poor quality.
As the result, we advise you should never depend on the Magic Wand Tool to help you make a Photoshop Clipping Path. And the image used as a demonstration here actually gives the best result you are likely to see because of the massive field of blue and sharply defined edges – and it still is not a good enough. You can be used this method only when you need a really quick, low resolution, positional cutout for proofing purposes. Whatever Please do it the right way.
The Best technique to create a Photoshop Clipping Path
If you want high-quality Photoshop clipping path, the truth is no quick and easy process to achieve the best cutout. You just have to do it properly. When you create the clipping path, then more you use the Pen Tool in Photoshop, the quicker and more proficient you will become.
Go to Photoshop tools palette and select the pen tool, you will see a list of all its subsidiary tools. You can use all are the pen tools such as, delete anchor point tool, add anchor point tool, and convert point tool. Don’t need to select them constantly from the toolbar – you can flick between them by using the command key and alt key on a Mac.
Check with the fantastic converts point Tool by pressing the Alt key and clicking on an existing anchor point. You will swiftly understand how the tools work. You can see below, you should trace the image so that the path pretty in the center of the anti-aliasing. Anti-aliasing arrives when the computer blends the hard edges of an image object by using an average of the object color and background color in order to soften the distinction between the foreground and the background object.
This minimizes the volume of blue ‘area’ that might arrive the edges of the final photo cutout. If you have traced the entire mode in the region of the photo, select Save Path. From the Paths Submenu and after select clipping path. You have needed a ‘Flatness’ Value. Please ensure that the photo is 300DPI accurate size and CMYK. Then save it as a Photoshop EPS file with default values, and place it in Indesign. When it completed then you will save this and view this, and you will see that the result is much more accurate with less area, and it has a soft, exact edge.
You may still get a ‘gloom’ around a photo, which the path has inherited from the preceding background. This is where Photoshop clipping path is finite. Because they are inflexible, hard-edged vector shapes they take no account of the fact that the object in question might be a little out of focus, need a smooth edge
If you want your finished background needs to be white, go back to Photoshop and the photo you have cut out with your clipping path. Once again open the paths palette and while holding down the command key click the path you have saved. It will create a selection of your path.
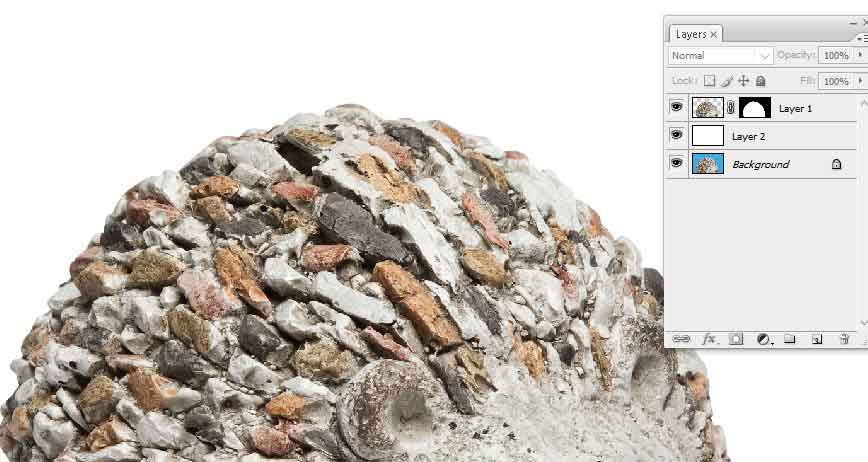
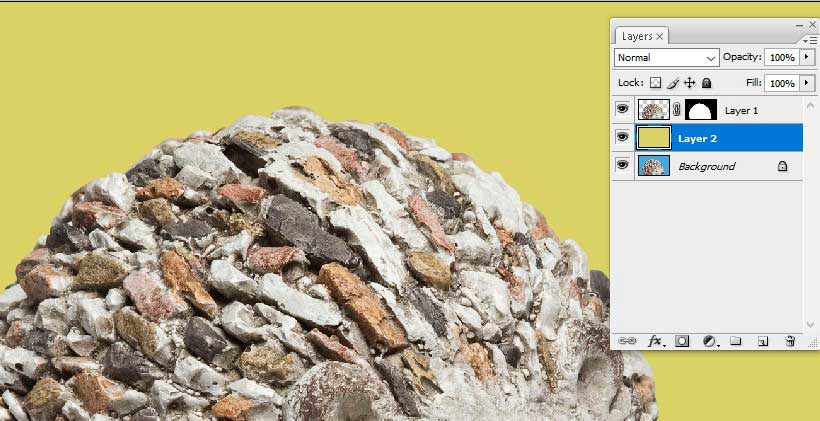
Create a new layer via copy. A new layer will come in your layers palette containing a cutout of your photo. Select the background layer. Create a new layer button at the bottom of the layers palette. Then fill the new layer with color. Select the layer and containing the cutout. hold down the command key and click the layer area to make a selection. From the main menu, go to Select and enter a value of 1 pixel then click ok.
Now, please click the Add Layer Mask button at the bottom of the Layers Palette. It will soften the edge of the cutout object and anti-alias it with the new background, thus blending it in better. If you want to more soften the edge, then select the layer again. And go select/inverse, and after checking that the layer mask is selected, press the delete key. This will mask off a little more of the winged edge. And it is a nice process fine-tunes the image cutout.
Save the file with a Photoshop EPS file. Don’t forget to save it with Photoshop PSD file so you can come back again to any editing needed. Removed it fully and place it in InDesign then print the blue gloom.
We give an example below of the image cutout placed on a colored background in the layered Photoshop file. The color grade used is C0 M15 Y58 K0. Save this as a Photoshop EPS using the same Photoshop clipping path as before. And if the colored background in your layout program has the same values. The image cutout will be conjoined in nicely on top of it. Photoshop clipping path is great for creating cutout image.
If you need best clipping path service then can you check our quality by using a free trial
Next post: How to Convert Color Photos black and white in Photoshop?