How to create clipping mask and Layer mask using Photoshop
Hi, you are welcome to take a new part of Photoshop image editing tutorial which is named- Clipping Mask and Layer mask. This is the process of creating two images in one part but mixing both parts of the layer. We know previously about Photoshop layer but don’t know about mixing of a different layer. There are many ways to mixing layer for creating amazing pictures but layer ask and clipping mask is an awesome tip and tricks for this.
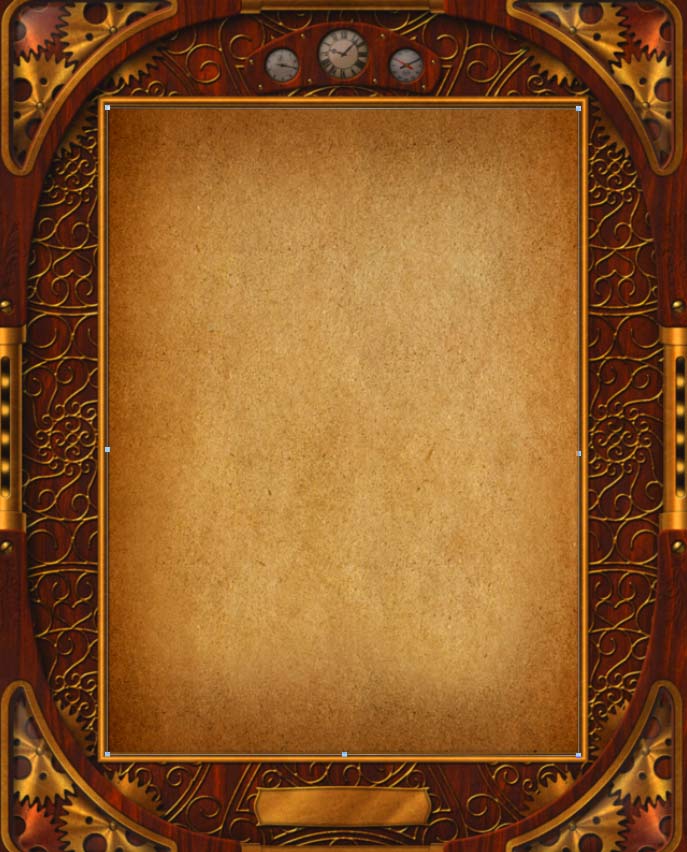
So, let’s we see the process of making layer mask and clipping mask in a very easy way. Here you can see two images. One is a Model Photo and another is a photo frame. We are going to make a clipping mask in both of the images. We want to add the model photo on this photo frame by using layer mask and clipping mask.
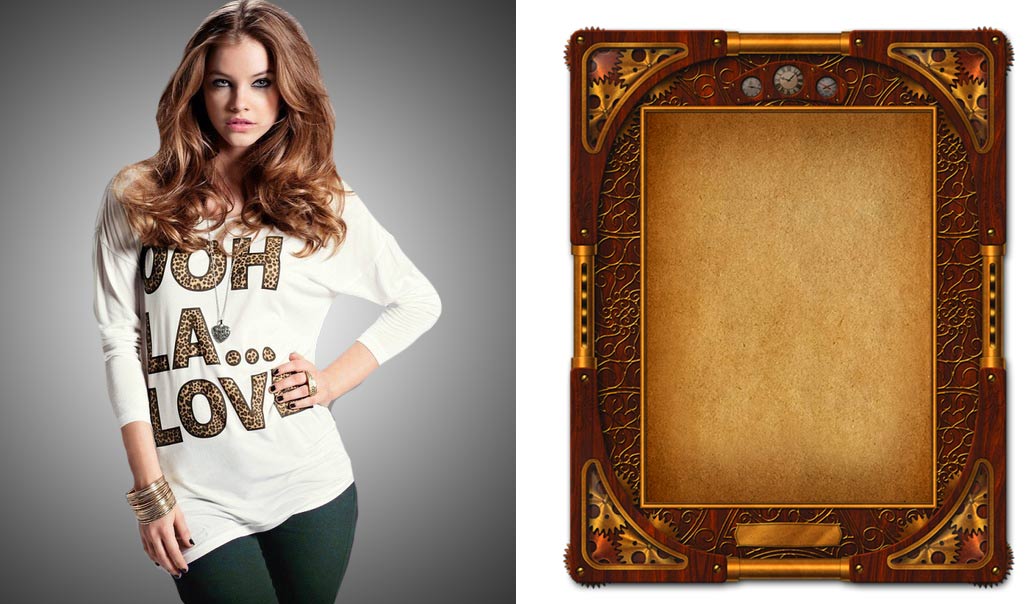
Model Image Frame
First Process:
Step 1:
First, open the Model image and remove the background from this model image by using Pen tool or Magic selection tool.
(If you want quality works then do it by pen tool)
Step 2:
Next, add a new white layer to the model background. After adding this layer you can use a gradient effect for looking it more attractive.
(Here I used a black & white gradient effect)
Step 3:
Adding this gradient effect layer merge both of this layer and save it for further usage.
Step 4:
Open the Photo frame image in your Photoshop template. Here you recolor your fame by using Color adjustment.
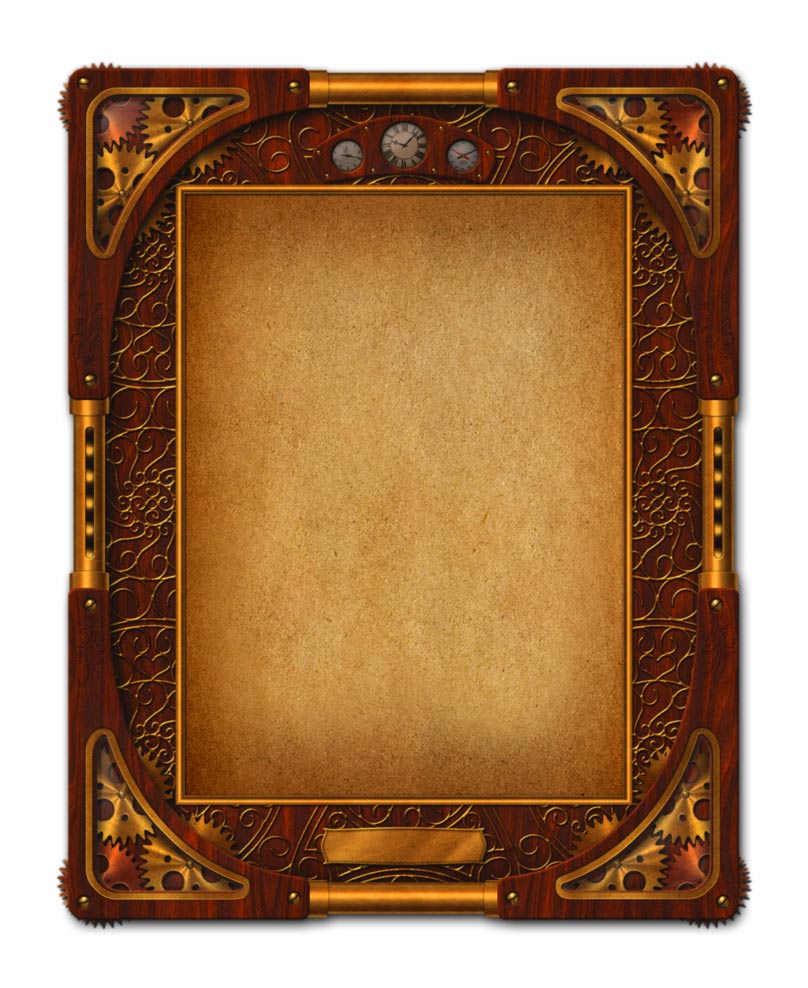
Take the Model in the top layer and image frame is the second layer. Here you see the model image is on above in the image frame. Then you adjust the model image size according to the frame size by using (Ctrl+T) Transform Tool. Turn your model image size by pressing (Shift+Alt+Turn).
Second Process:
In this process, you need to do layer mask in photoshop.
Step 1:
Open the image frame and make a Path by using ‘Pen Tool’.
Step 2:
Now you need to take the Model image layer above the image frame layer and size it for adjusting your image frame (Ctrl+T) and ‘Enter’ button for finishing.

After completing this sizing image you need to make its selection by pressing (Ctrl + Path layer) for selection the frame path area. Select the model image layer and click on “mask” icon and you can see the image is accurately add to your frame.
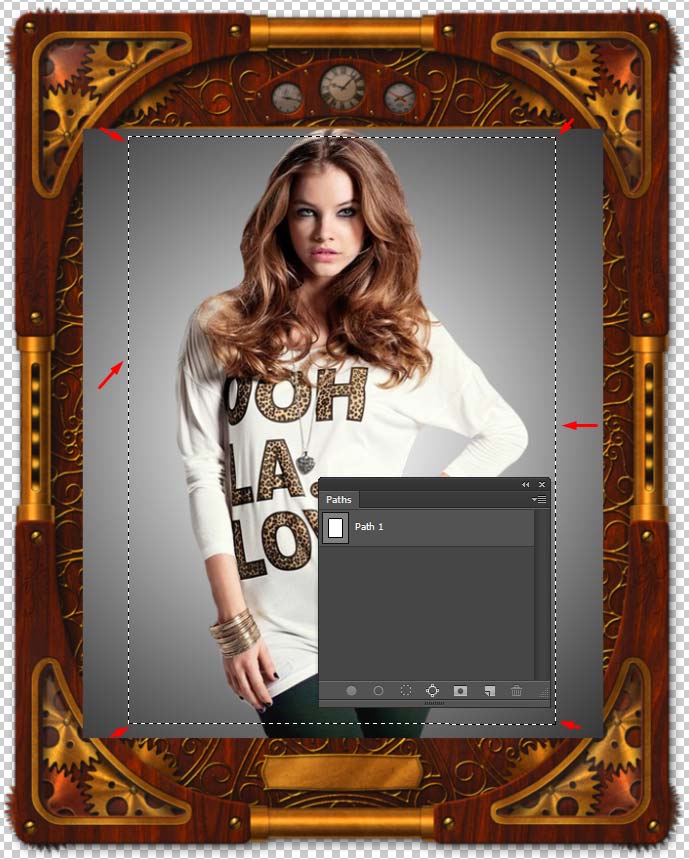
Area Selection
Adding Layer Mask

Finished Mask Layer
- So, this is the last word and you can see the final result of layer mask and clipping mask process.
Check out Video Tutorial-
Connect with us for more tutorials about image editing services based on Photoshop image editing services on Clipping Path EU.
Next post: How to extract object form an image?


